Thee met Aimée

Iets lekkers met een bite!

Thee met Aimée

Cashew caramel bars

Caramelcashewbars1

Caramelcashewbars6

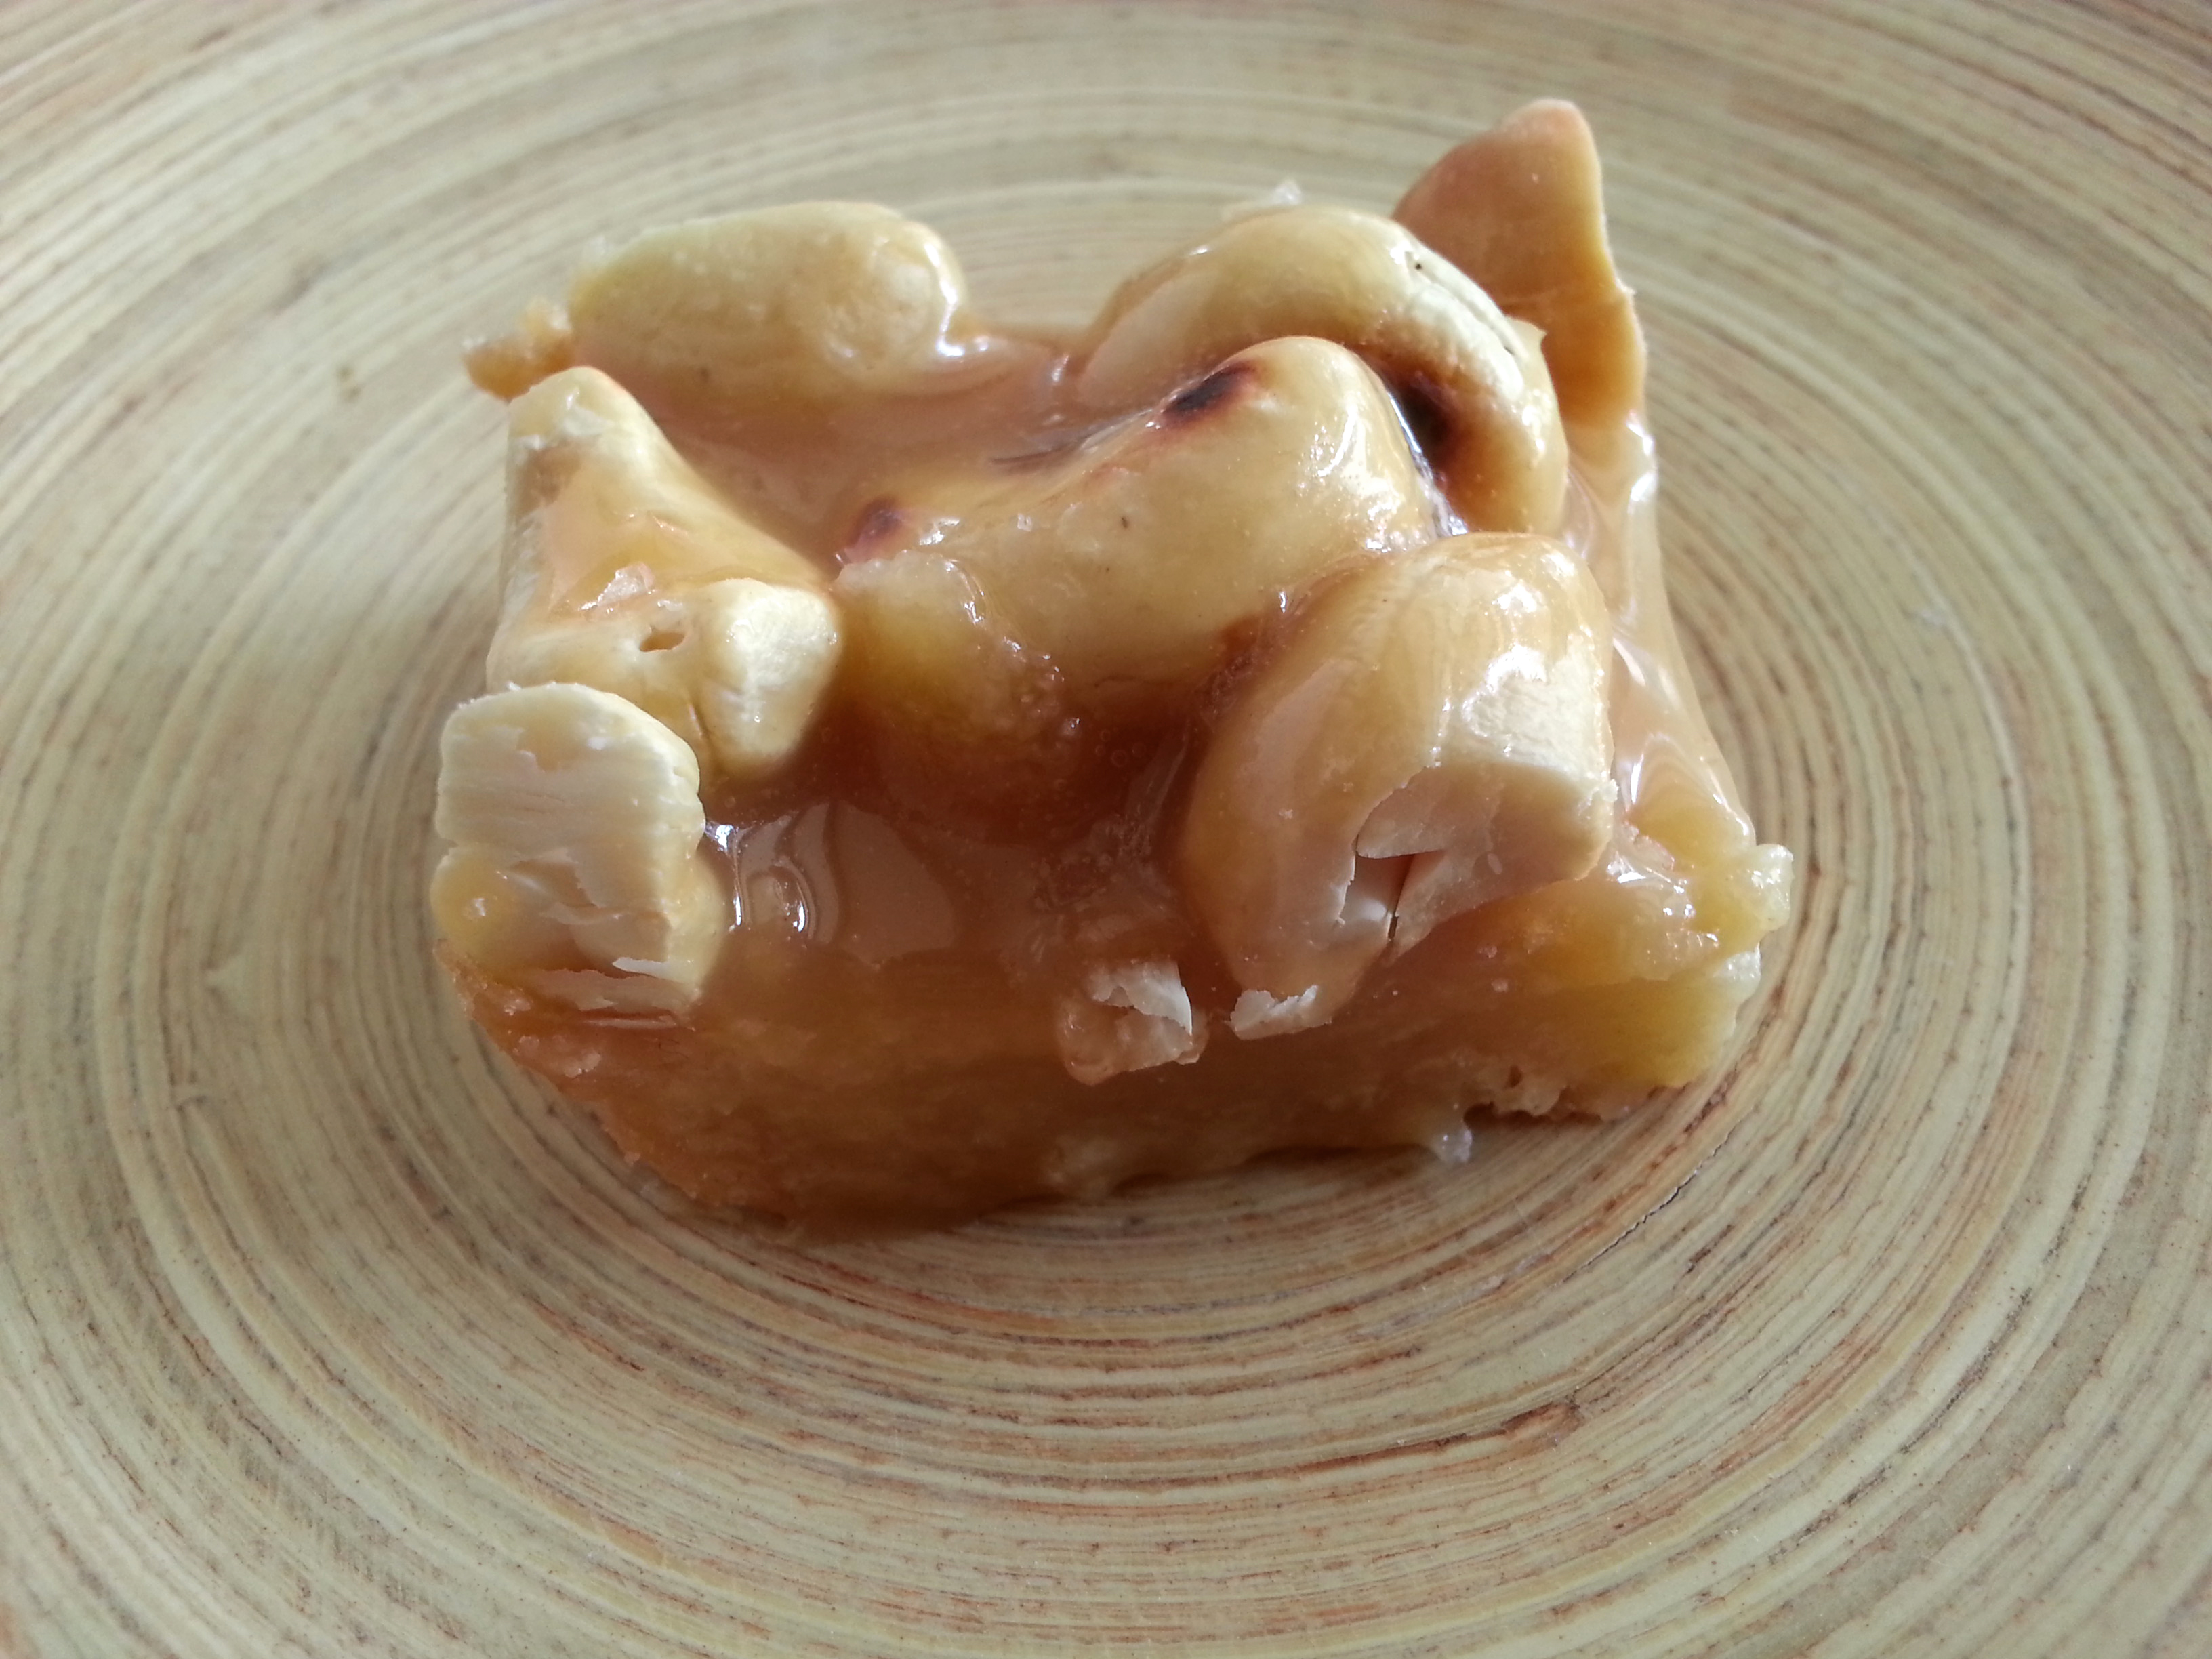
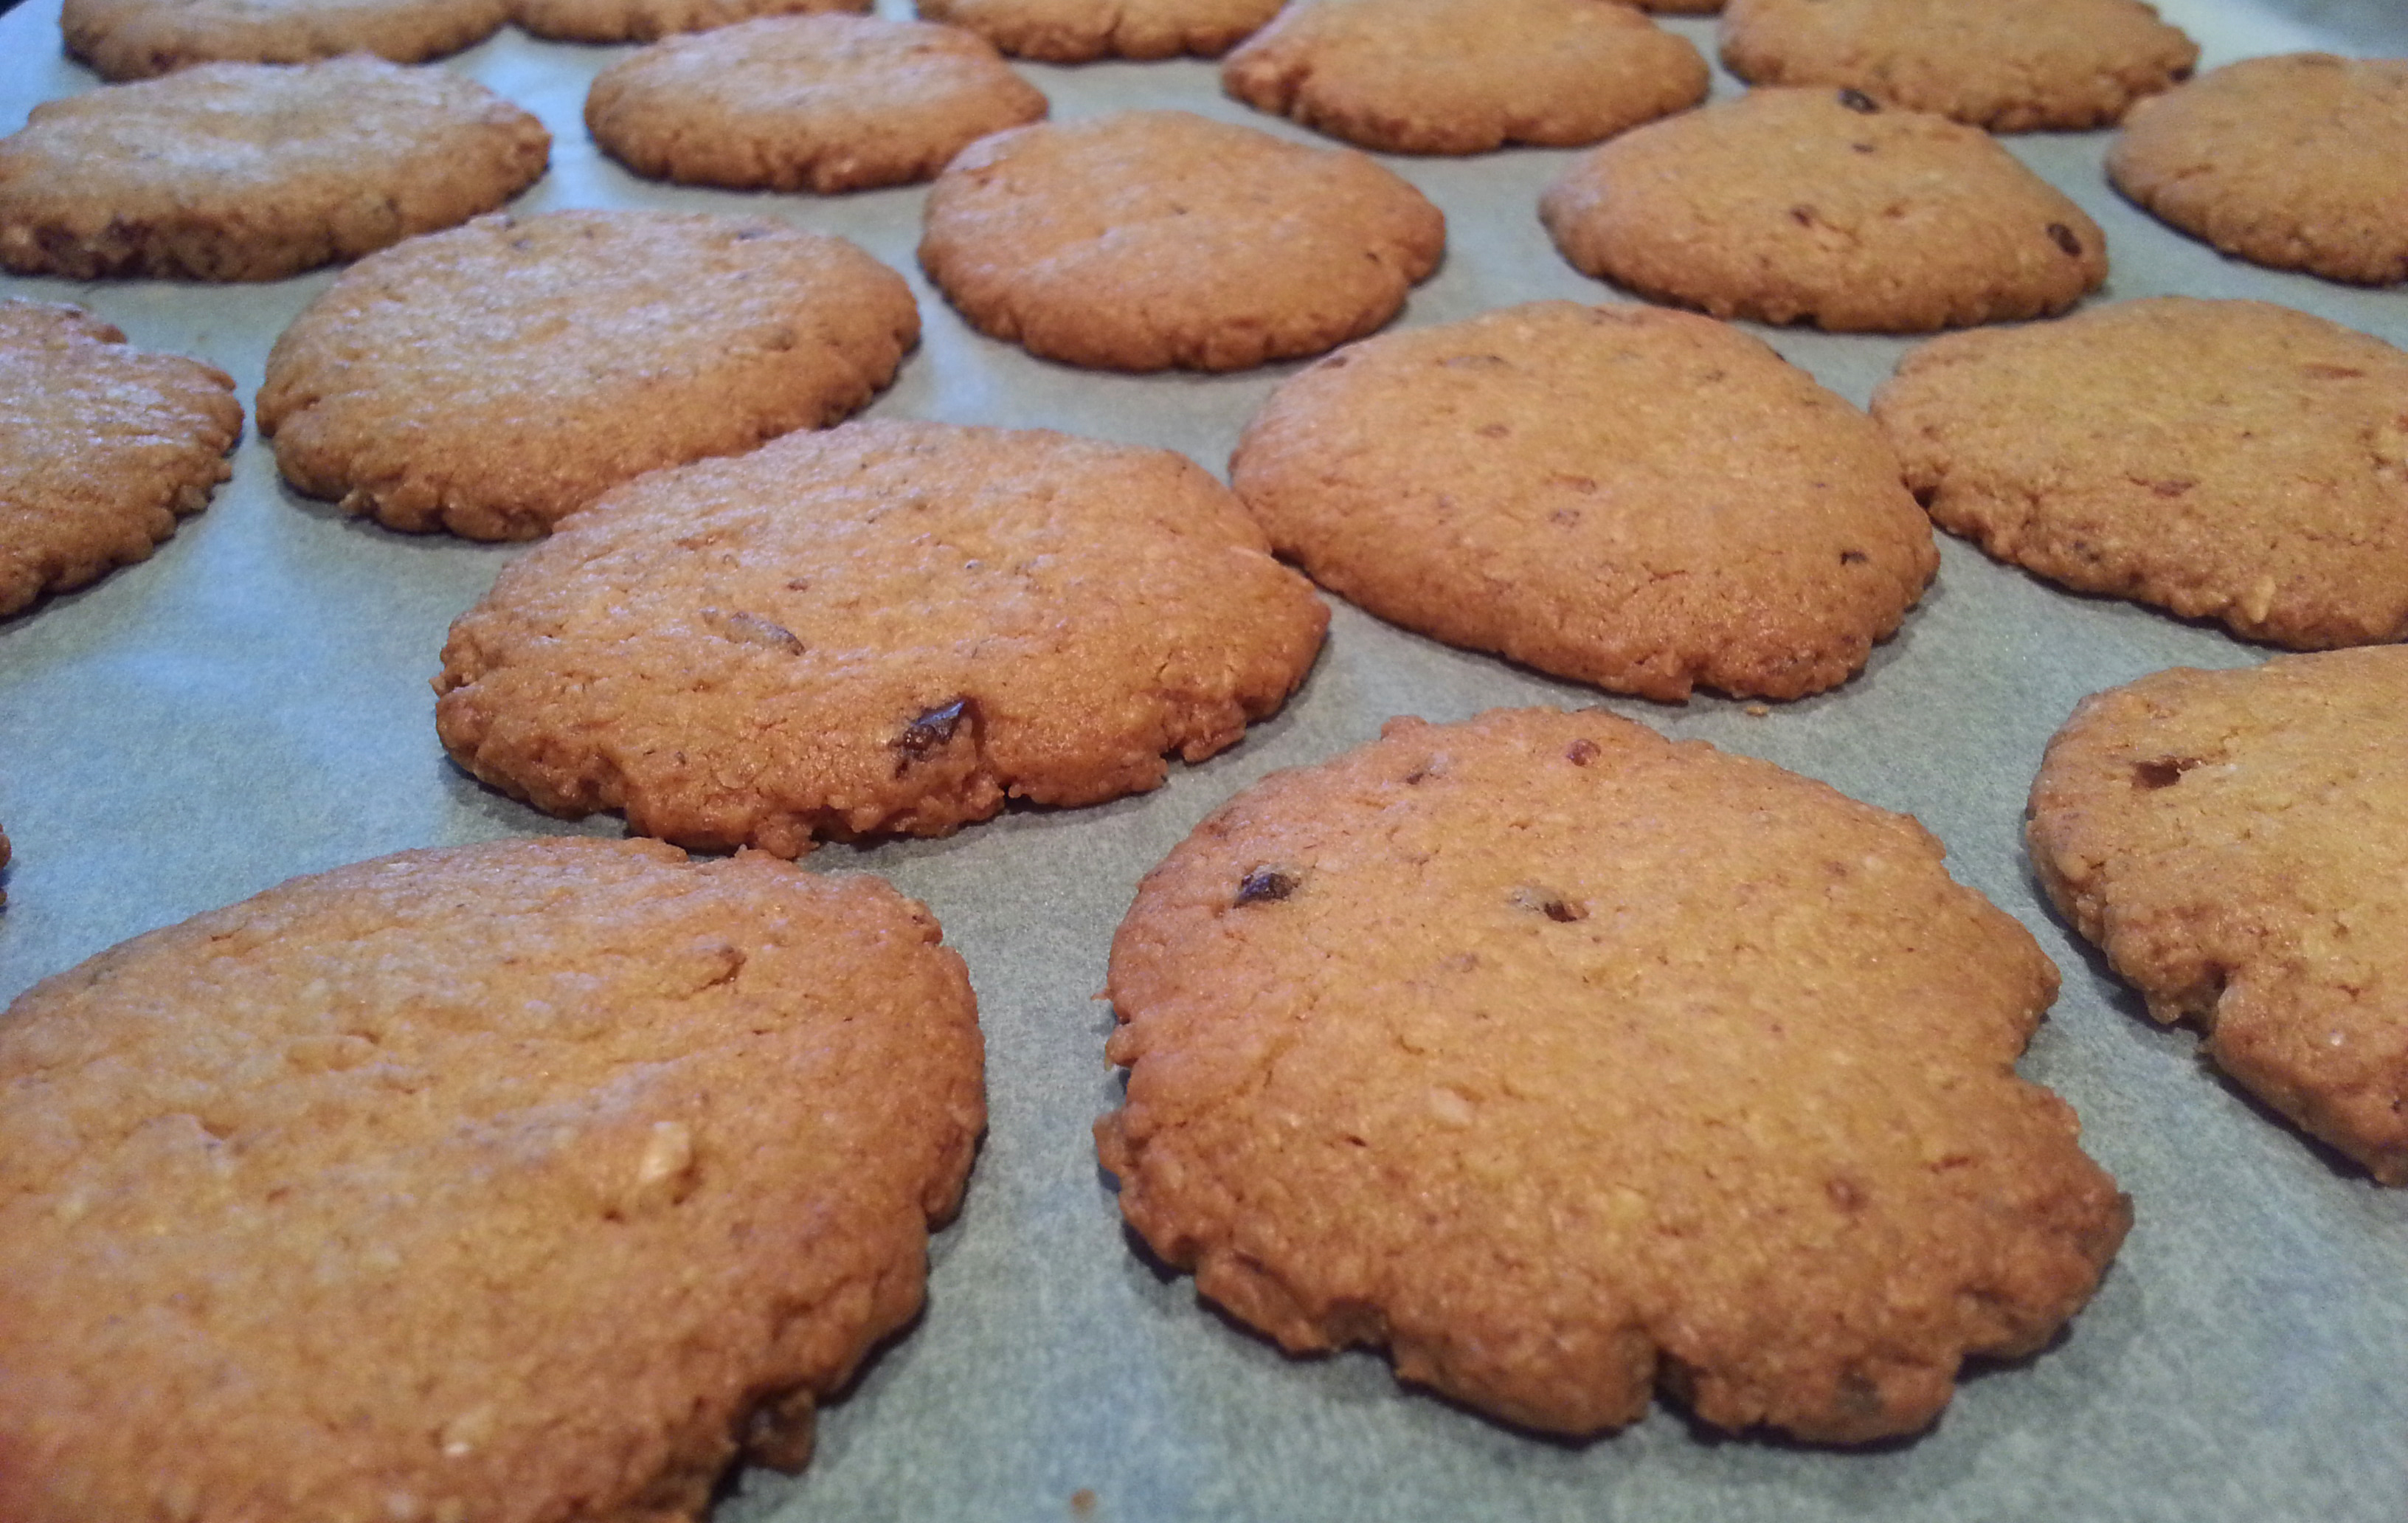
When I’m saying ‘I am baking some cookies’, it is really just an alibi to get myself a candy bar-like treat like this one. This recipe will get you the finest candy bar money can buy, so don’t just buy the pre-packed stuff: If you are going to sin, make it worth it.

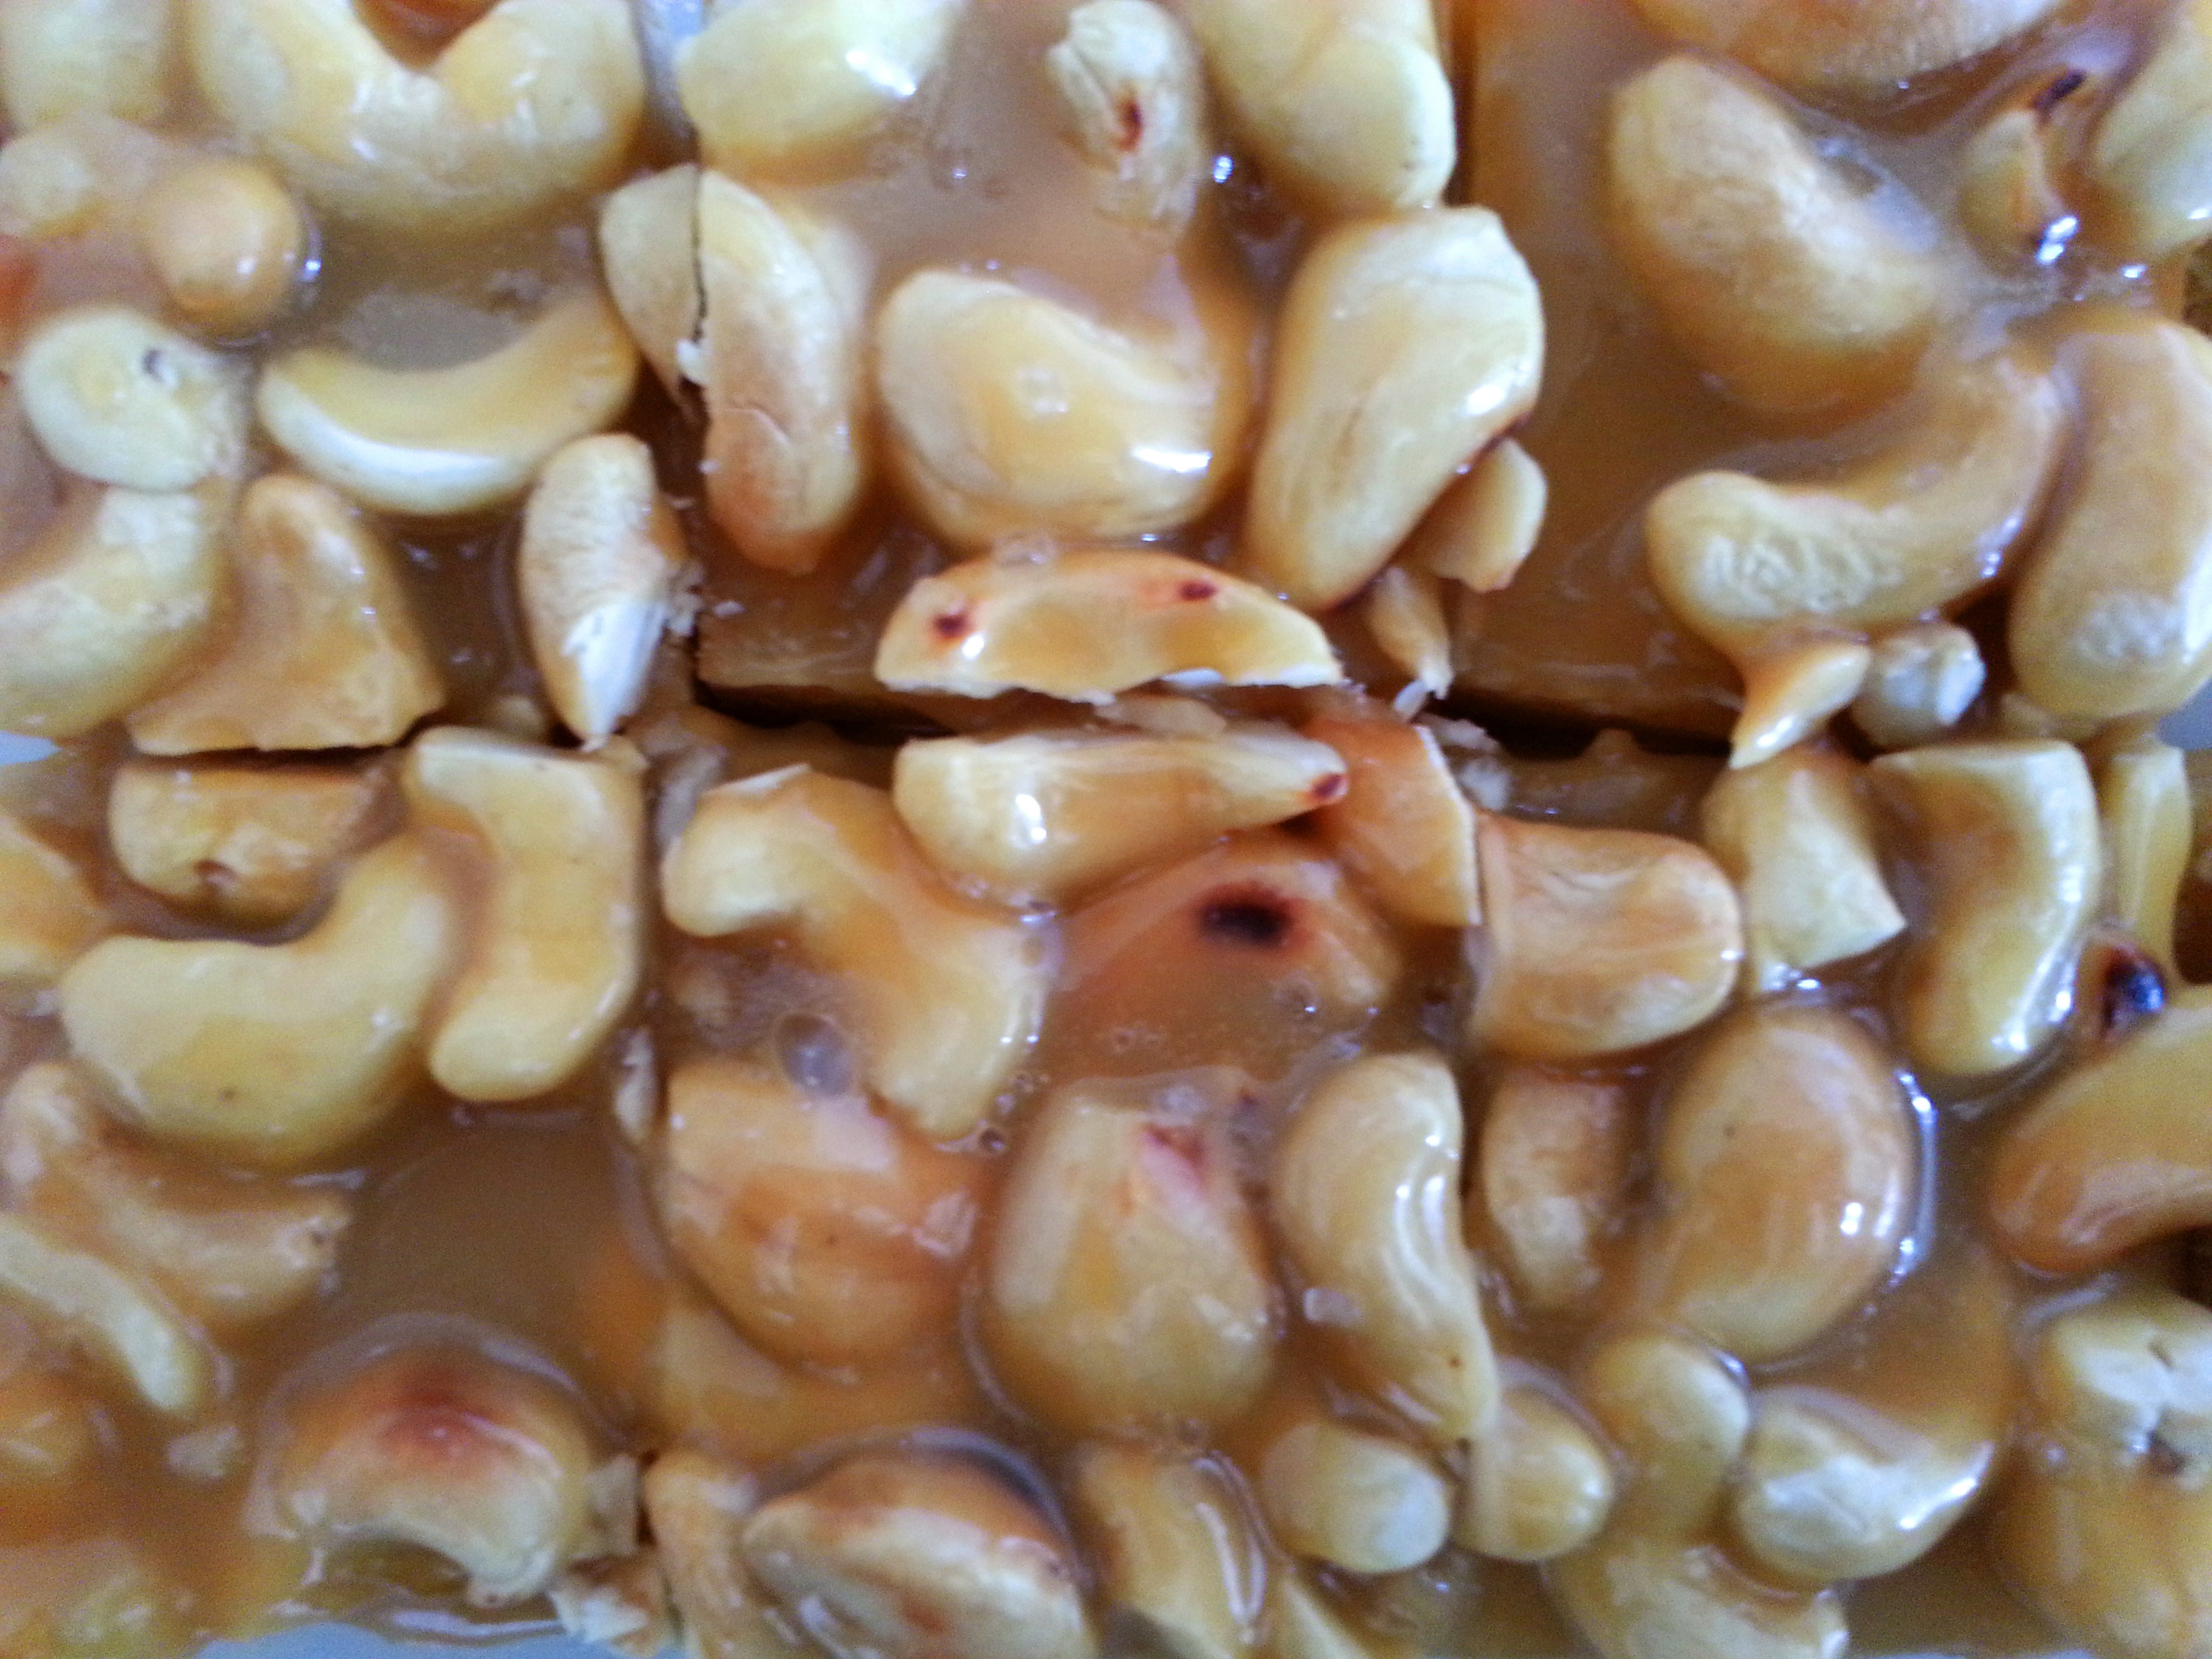
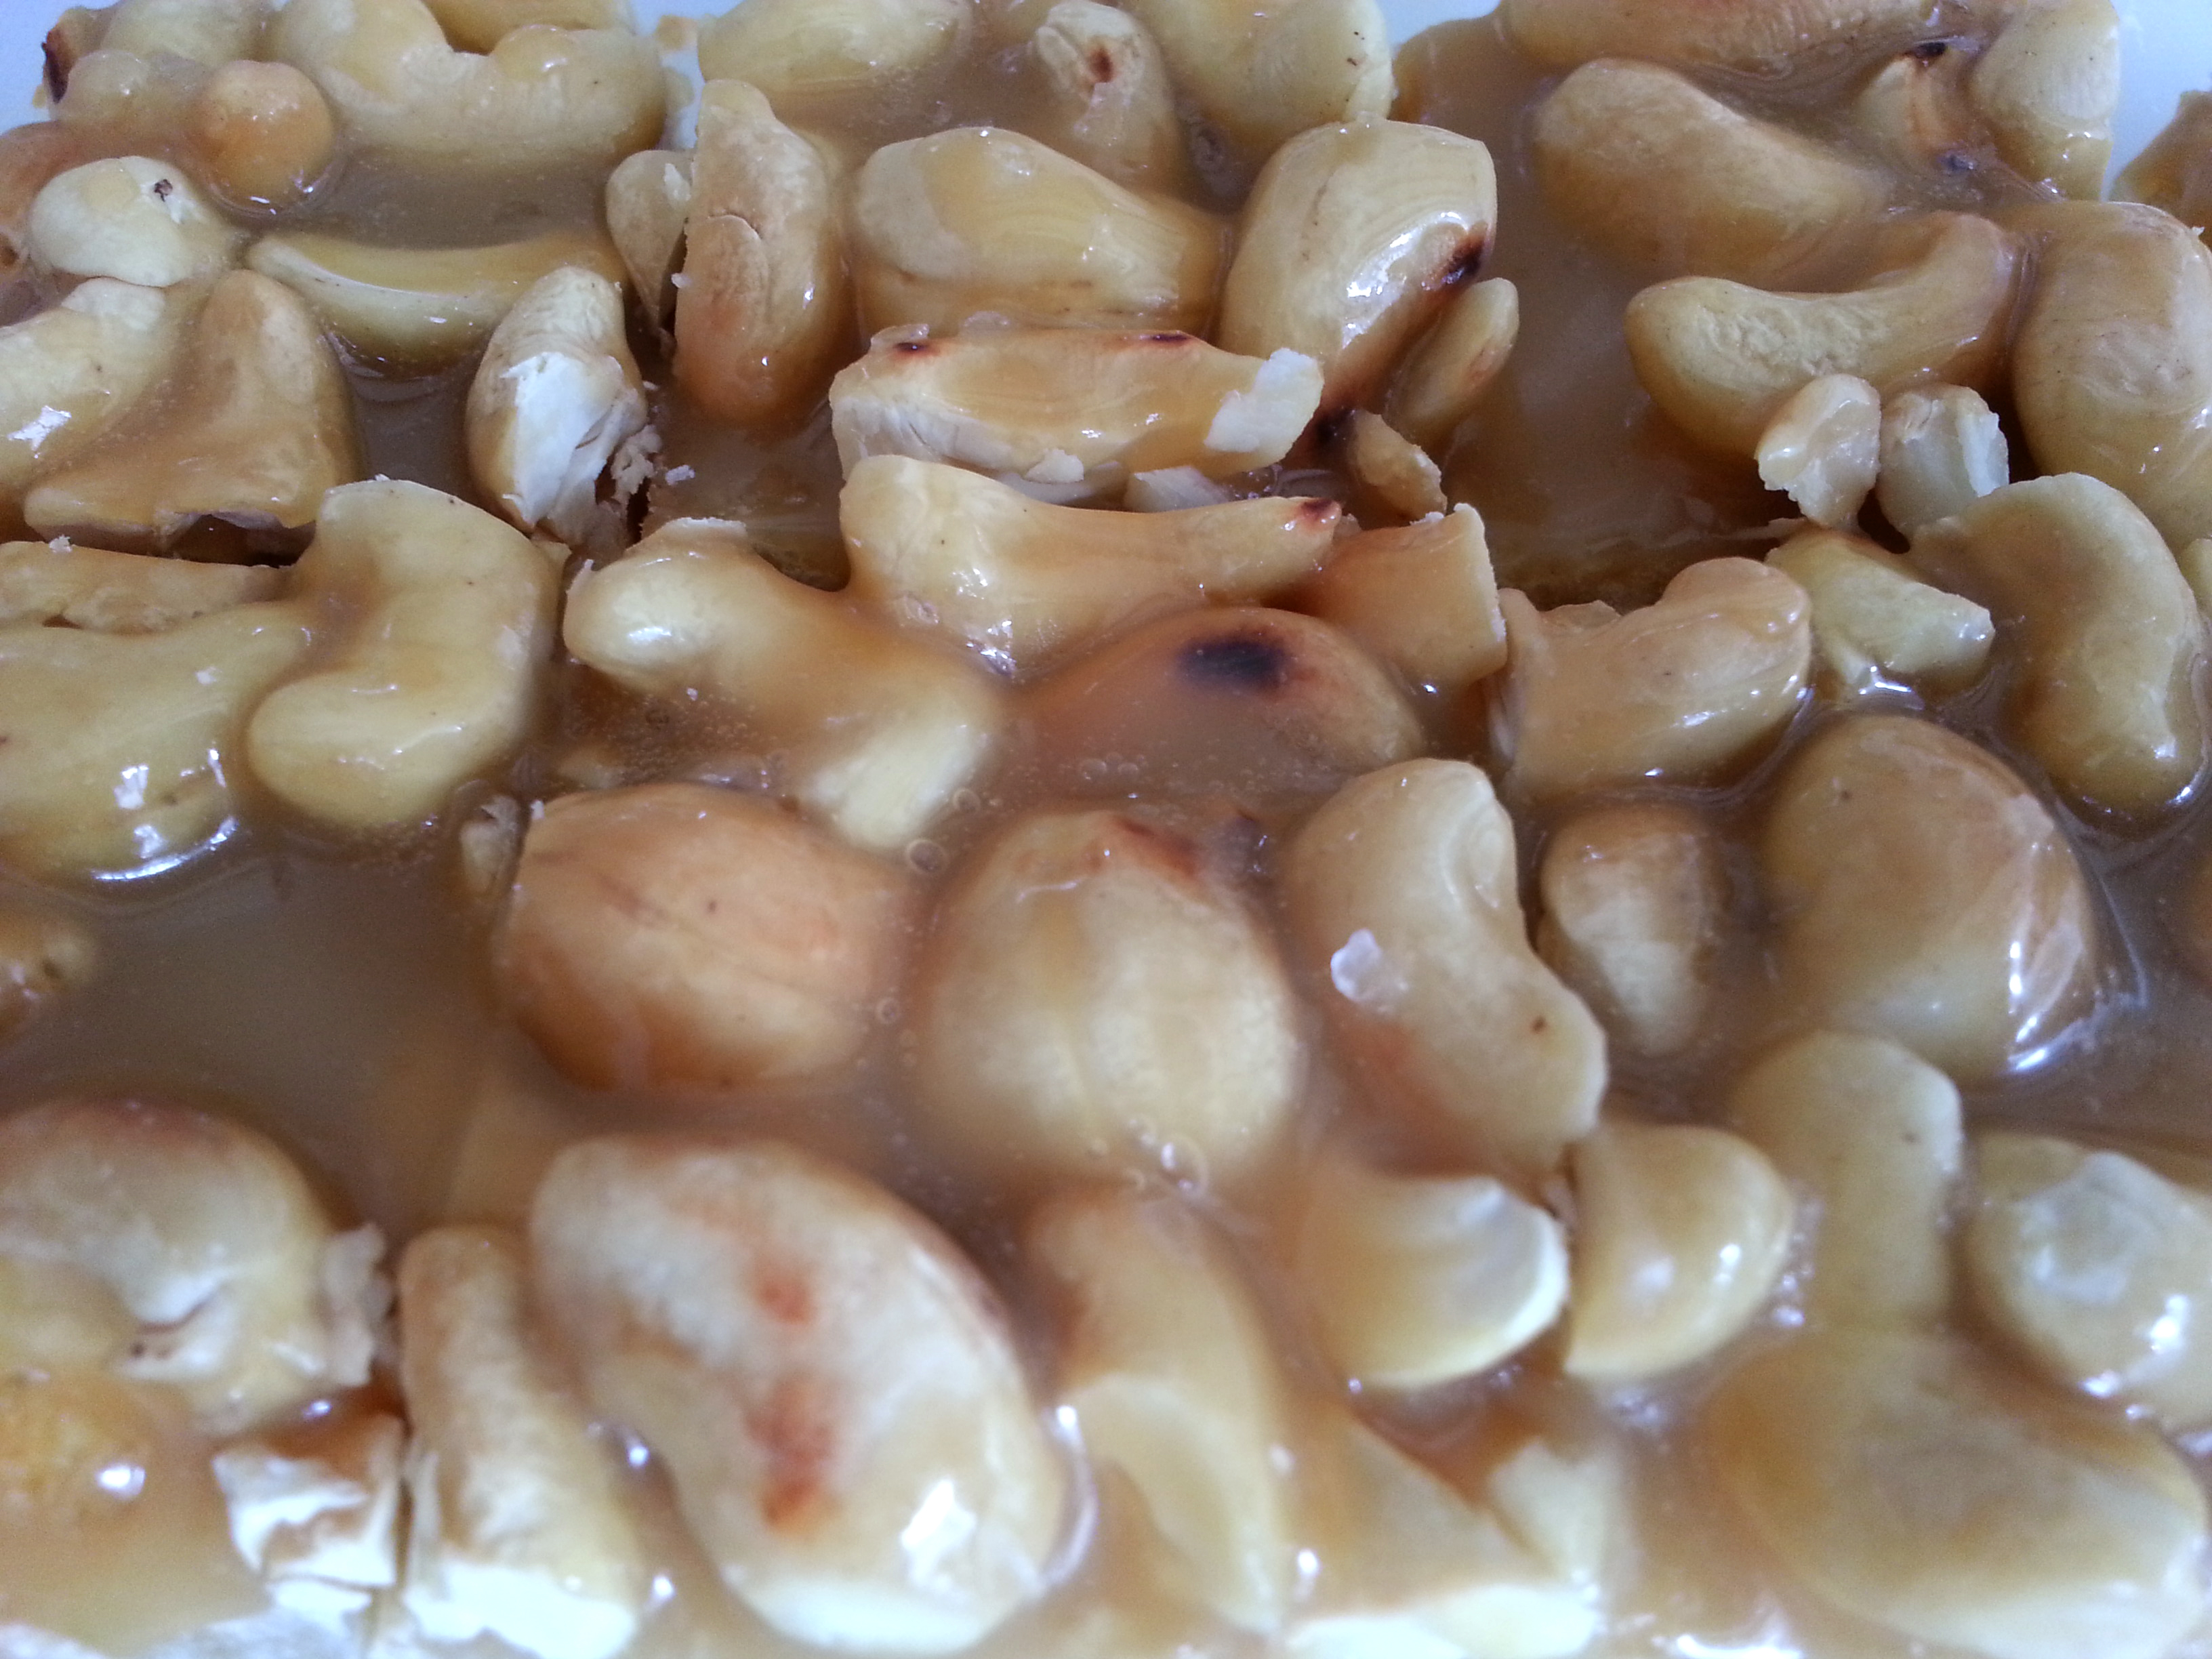
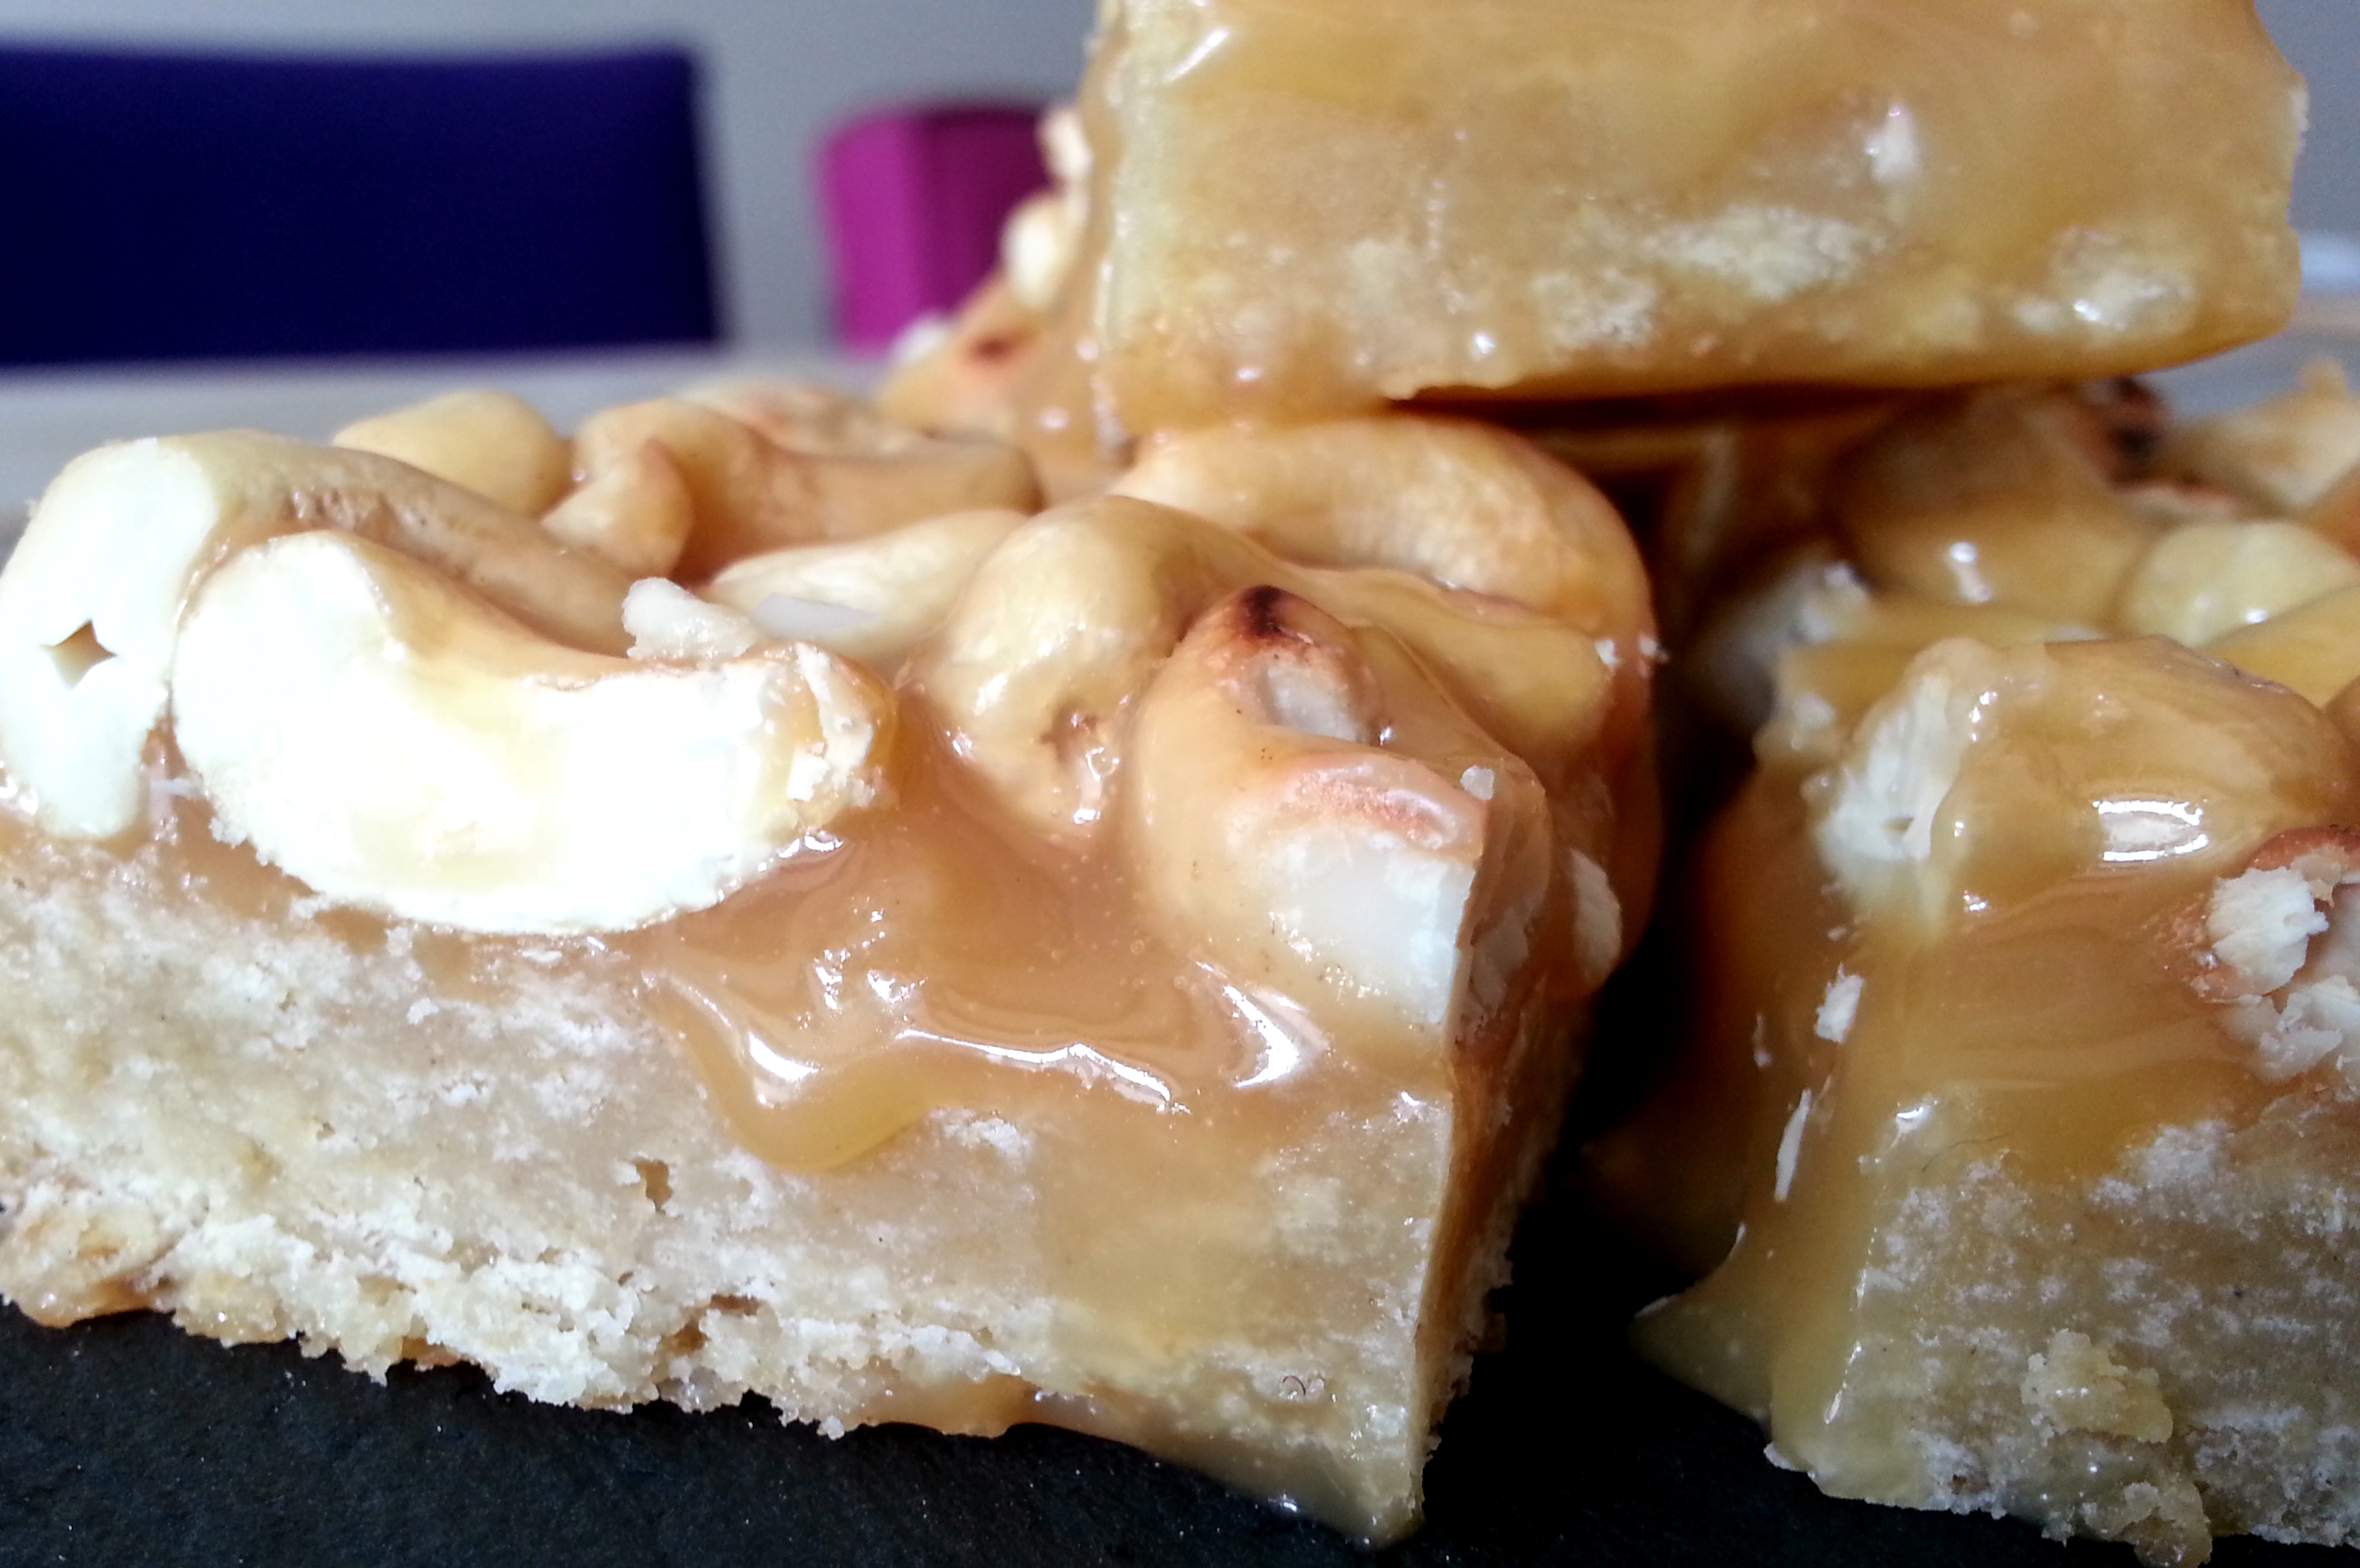
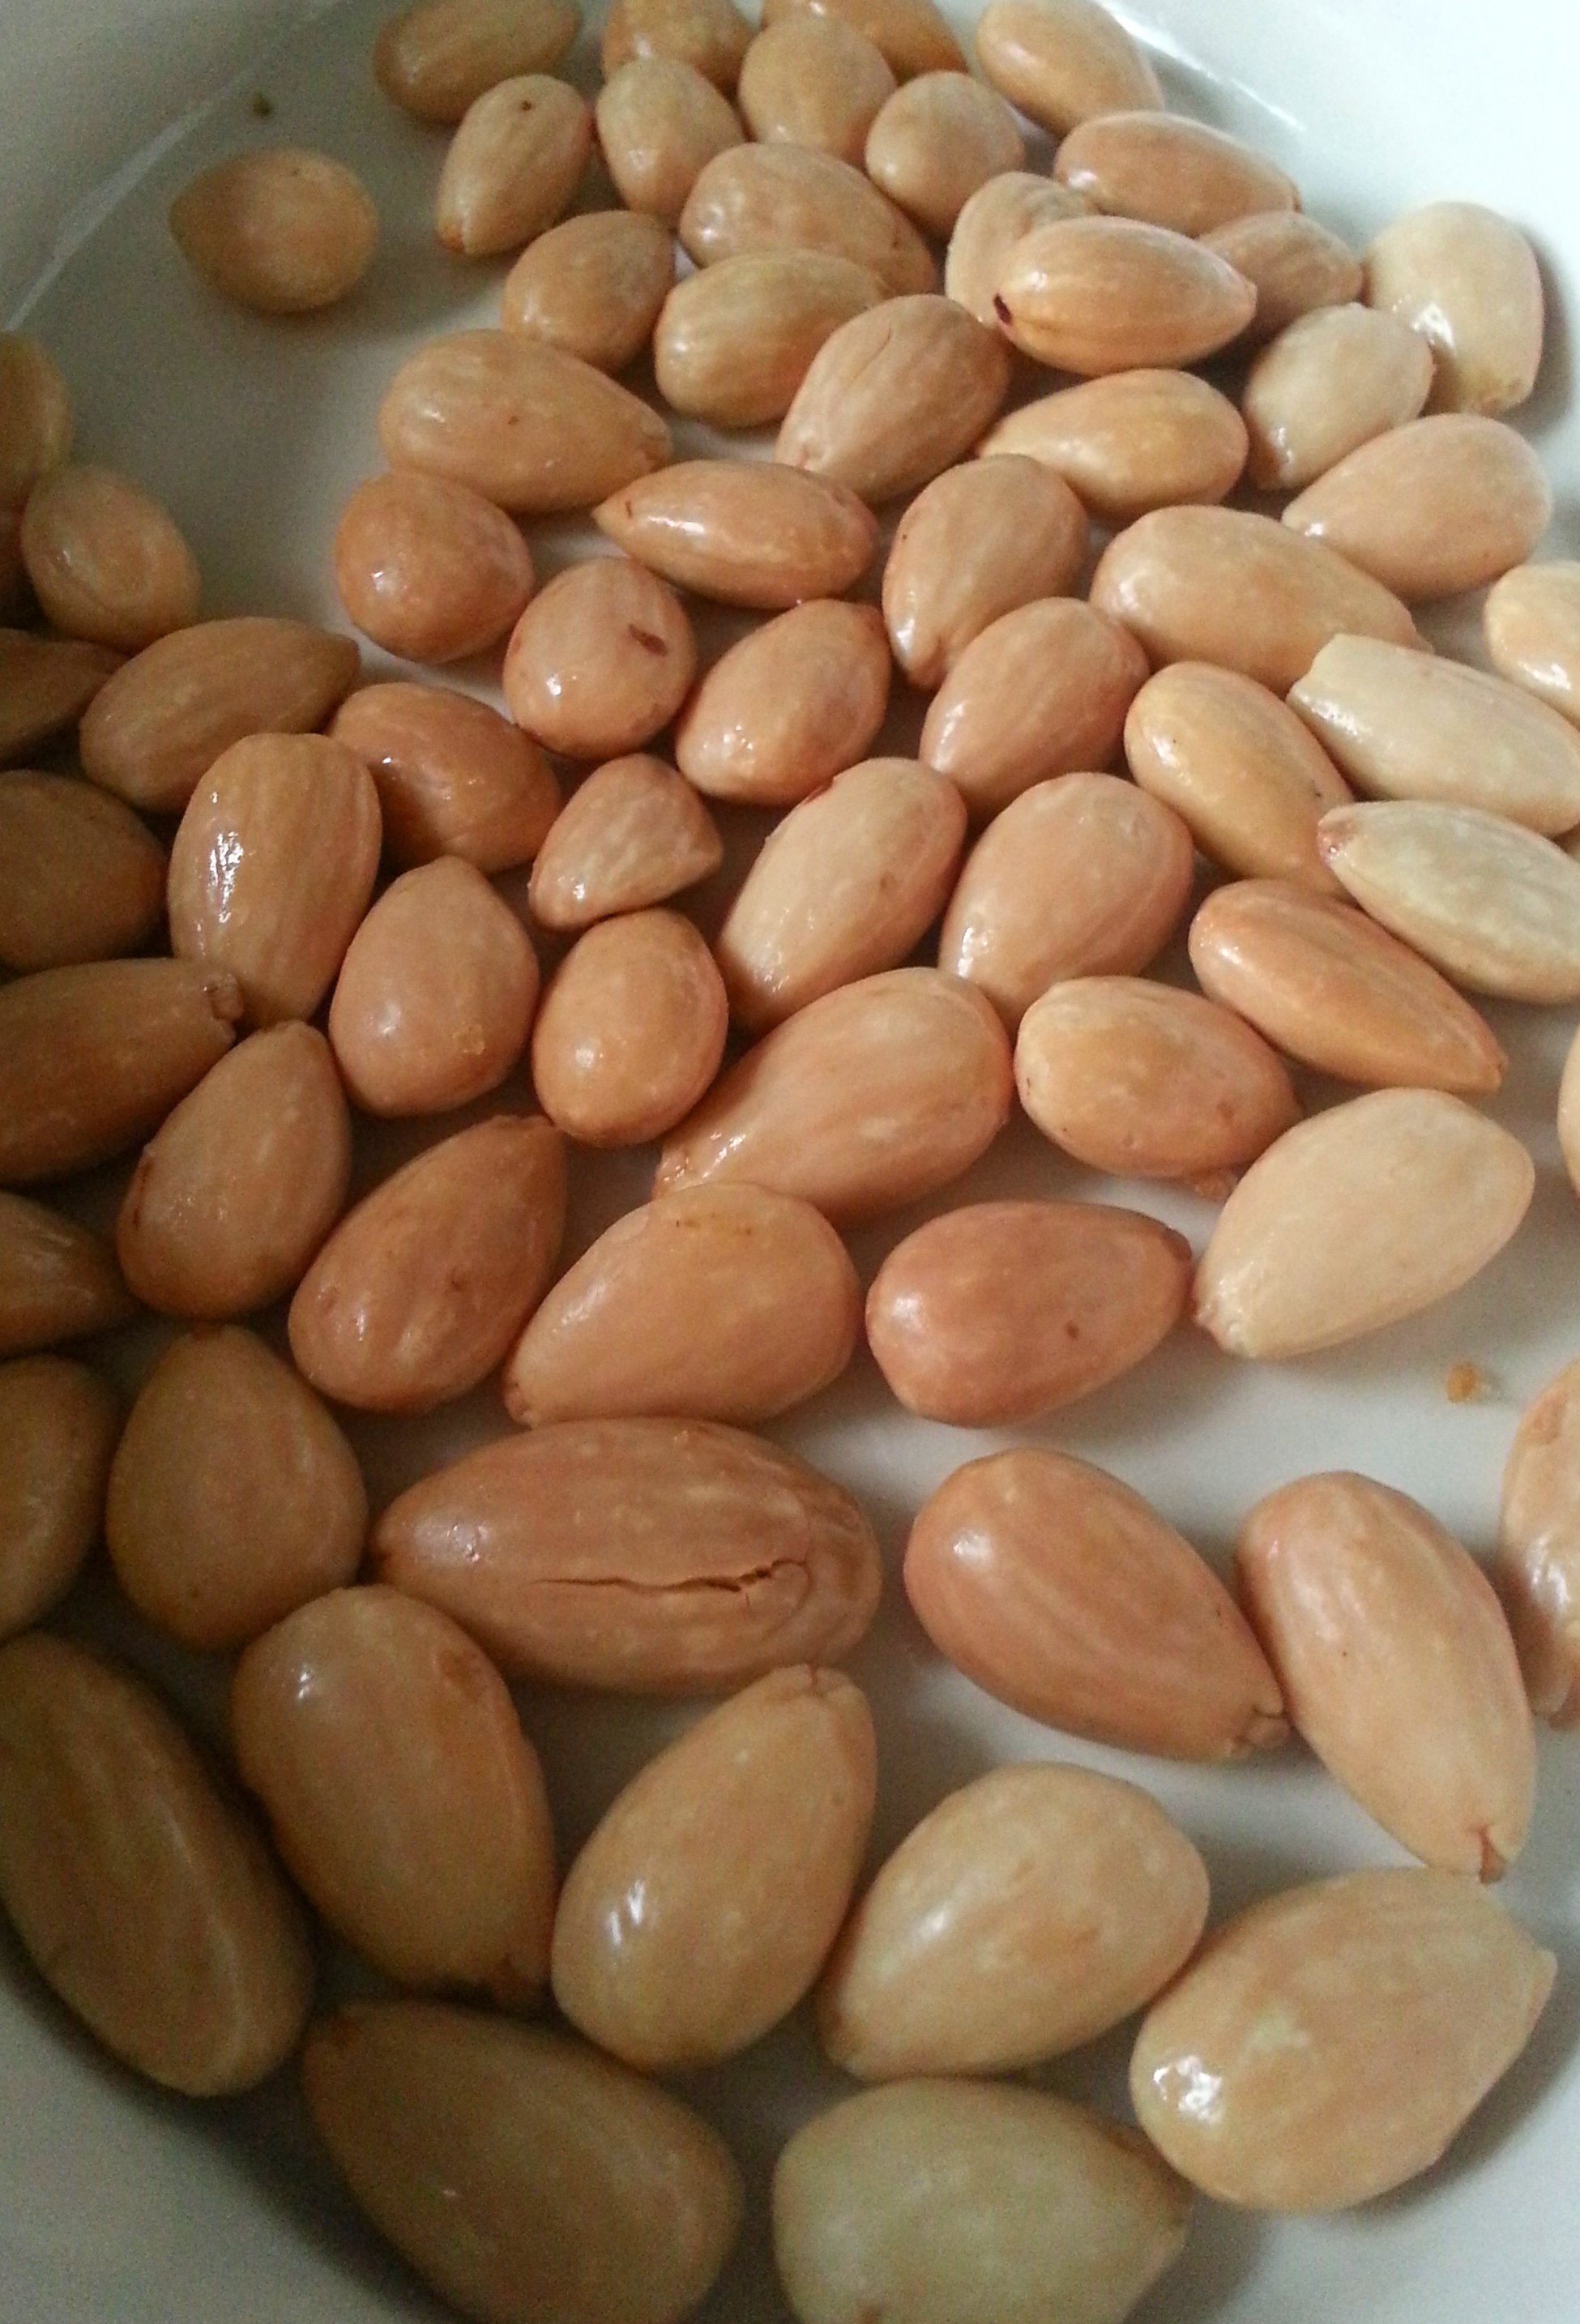
Start of by baking a shortbread base (this is the ‘cookies’-part), and while it cools, make some caramel and throw it on top with some delicious crunchy nuts. Cashews, peanuts, walnuts, hazelnuts…basically, any kind you prefer. They all work terrifically with caramel. If you’re a salted caramel fan, you could use ready-salted nuts, or just throw on some sea salt yourself. Your friends will ‘hate’ you for serving these…if these little sweet devils even make it out of your kitchen.

Caramelcashewbars2

Caramelcashewbars3

Ingredients:

–          150 g butter (slightly softened)

–          100 g sugar

–          250 g all-purpose flour

–          pinch of salt

For the caramel:

–          340 g sugar

–          240 ml cream

–          80 g butter


–          and about 200 g of nuts


I wouldn’t dare telling you how many portions these amounts will yield, because it largely depends on a) how much of the ingredients mysteriously disappear from your work space and b) what size you cut the portions.

Caramelcashewbars4


Method:

  1. Preheat the oven to 190 degrees Celcius. Line a baking pan or any kind of (deep) oven tray with foil (I used a lasagna pan of about 30×20 cm), and grease it with some melted butter.
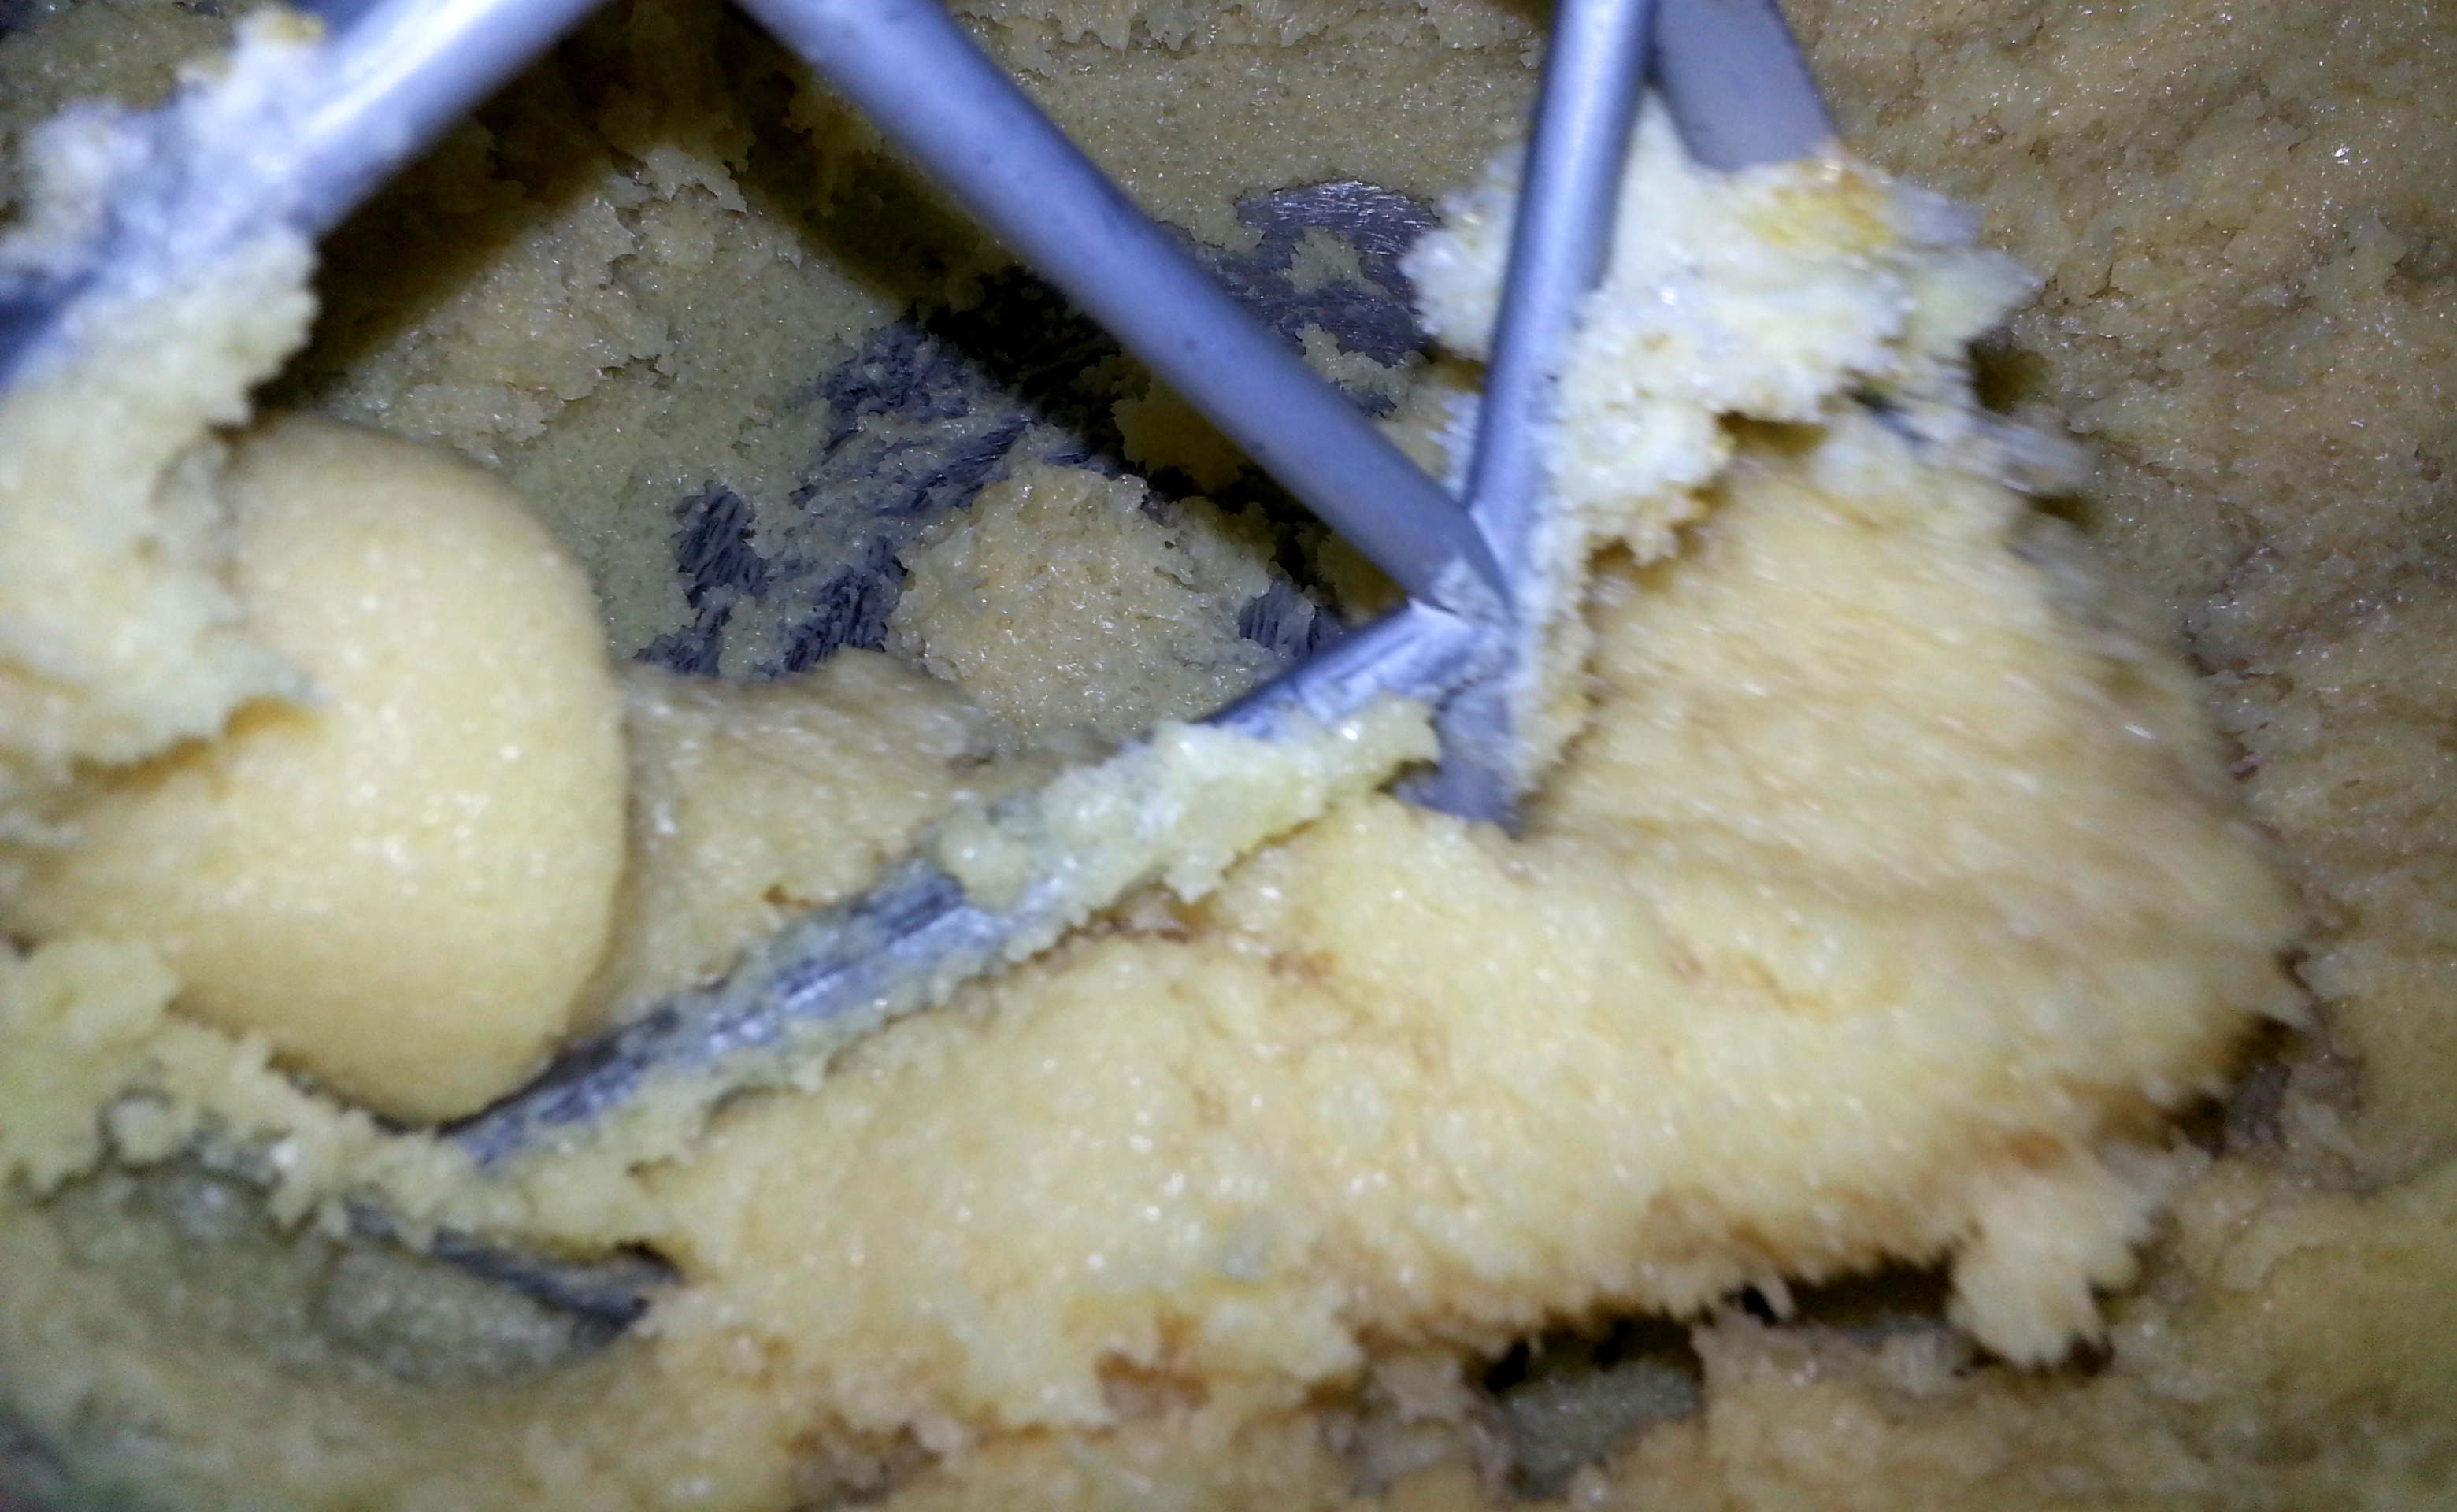
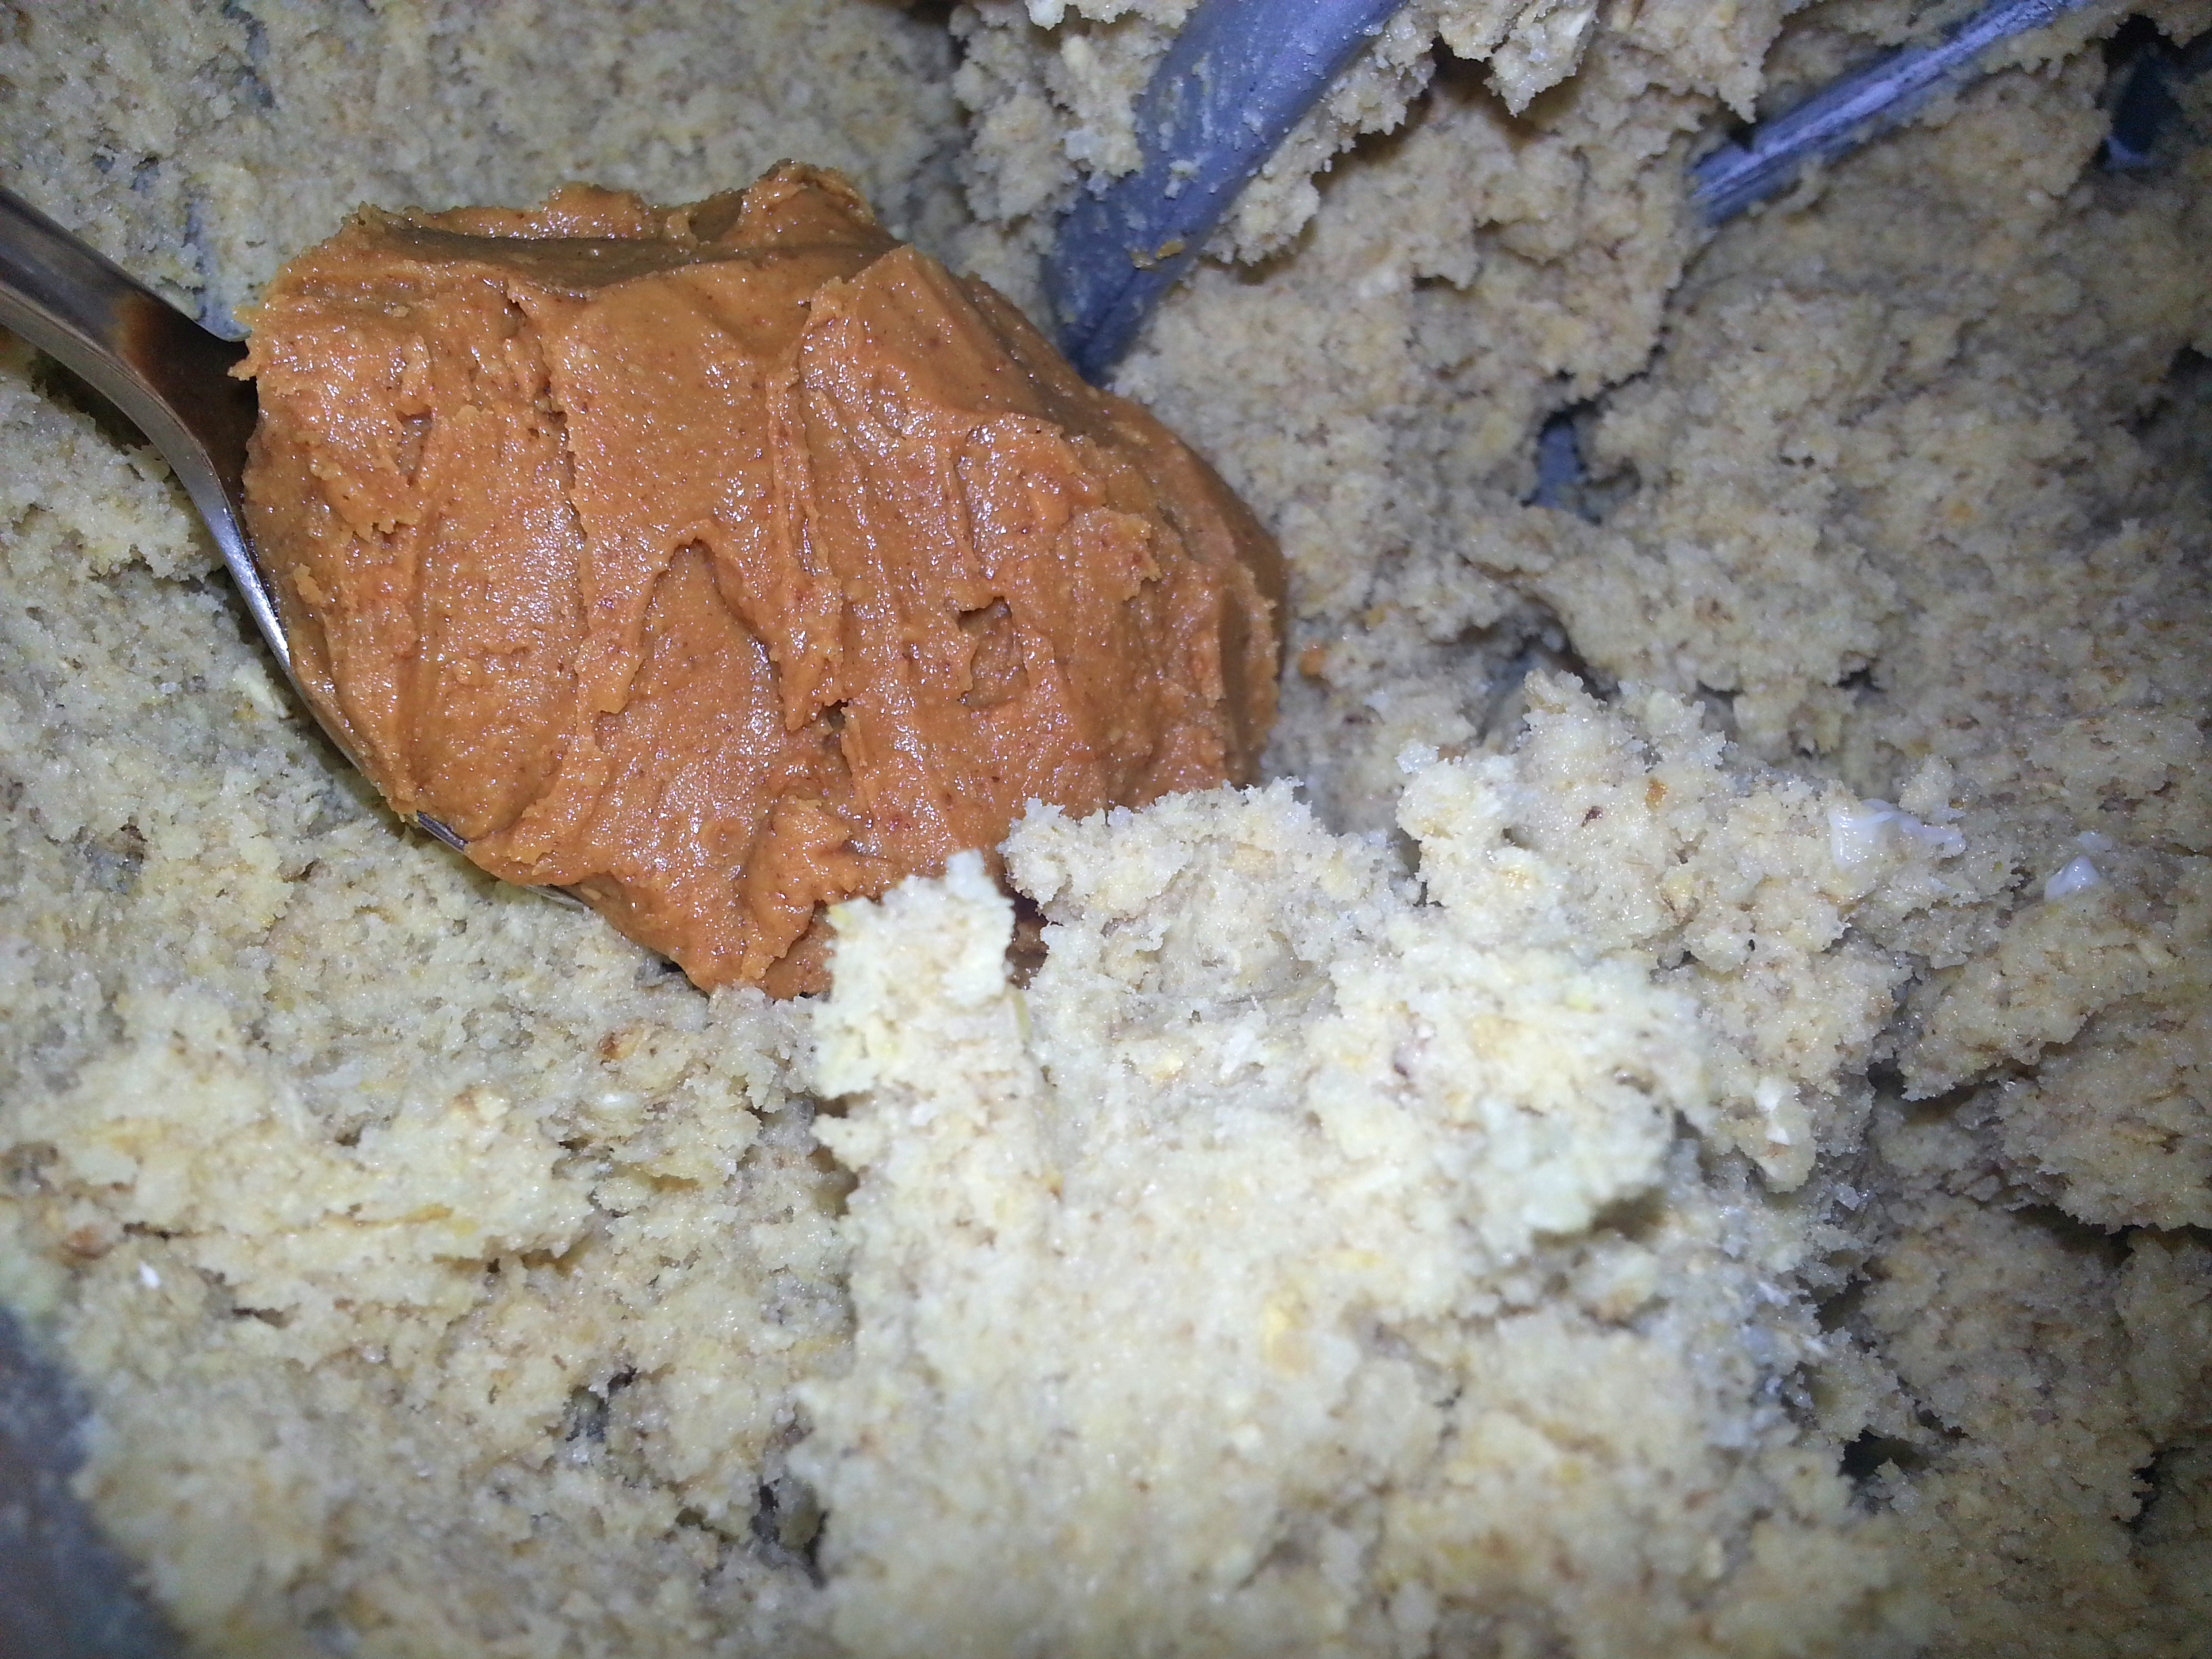
  2. To make the shortbread base, first mix the butter and sugar together until fluffy. Then, add the flour and salt.
  3. Get the dough in the pan. To make things easier (because it will be sticky), you could use a piece of microwave wrap to press down the dough equally.
  4. Bake the shortbread base until golden brown. The timing differs greatly depending on how thick you made it and of course also on your oven. I think mine took about 20 minutes.
  5. While the shortbread cools, heat the sugar in a nonstick saucepan. Let it stand until the bottom layer of sugar begins to melt, and ONLY THEN start stirring, continuing to stir until the sugar has turned light brown in color and smooth in texture. Pour in the cream and stir constantly until the mixture is smooth again, about 5 minutes. Turn down the heat and stir in the butter. Please RESIST the urge to stick in a finger to have a sneak taste, because you will lose its skin due to the incredible heat of the caramel.
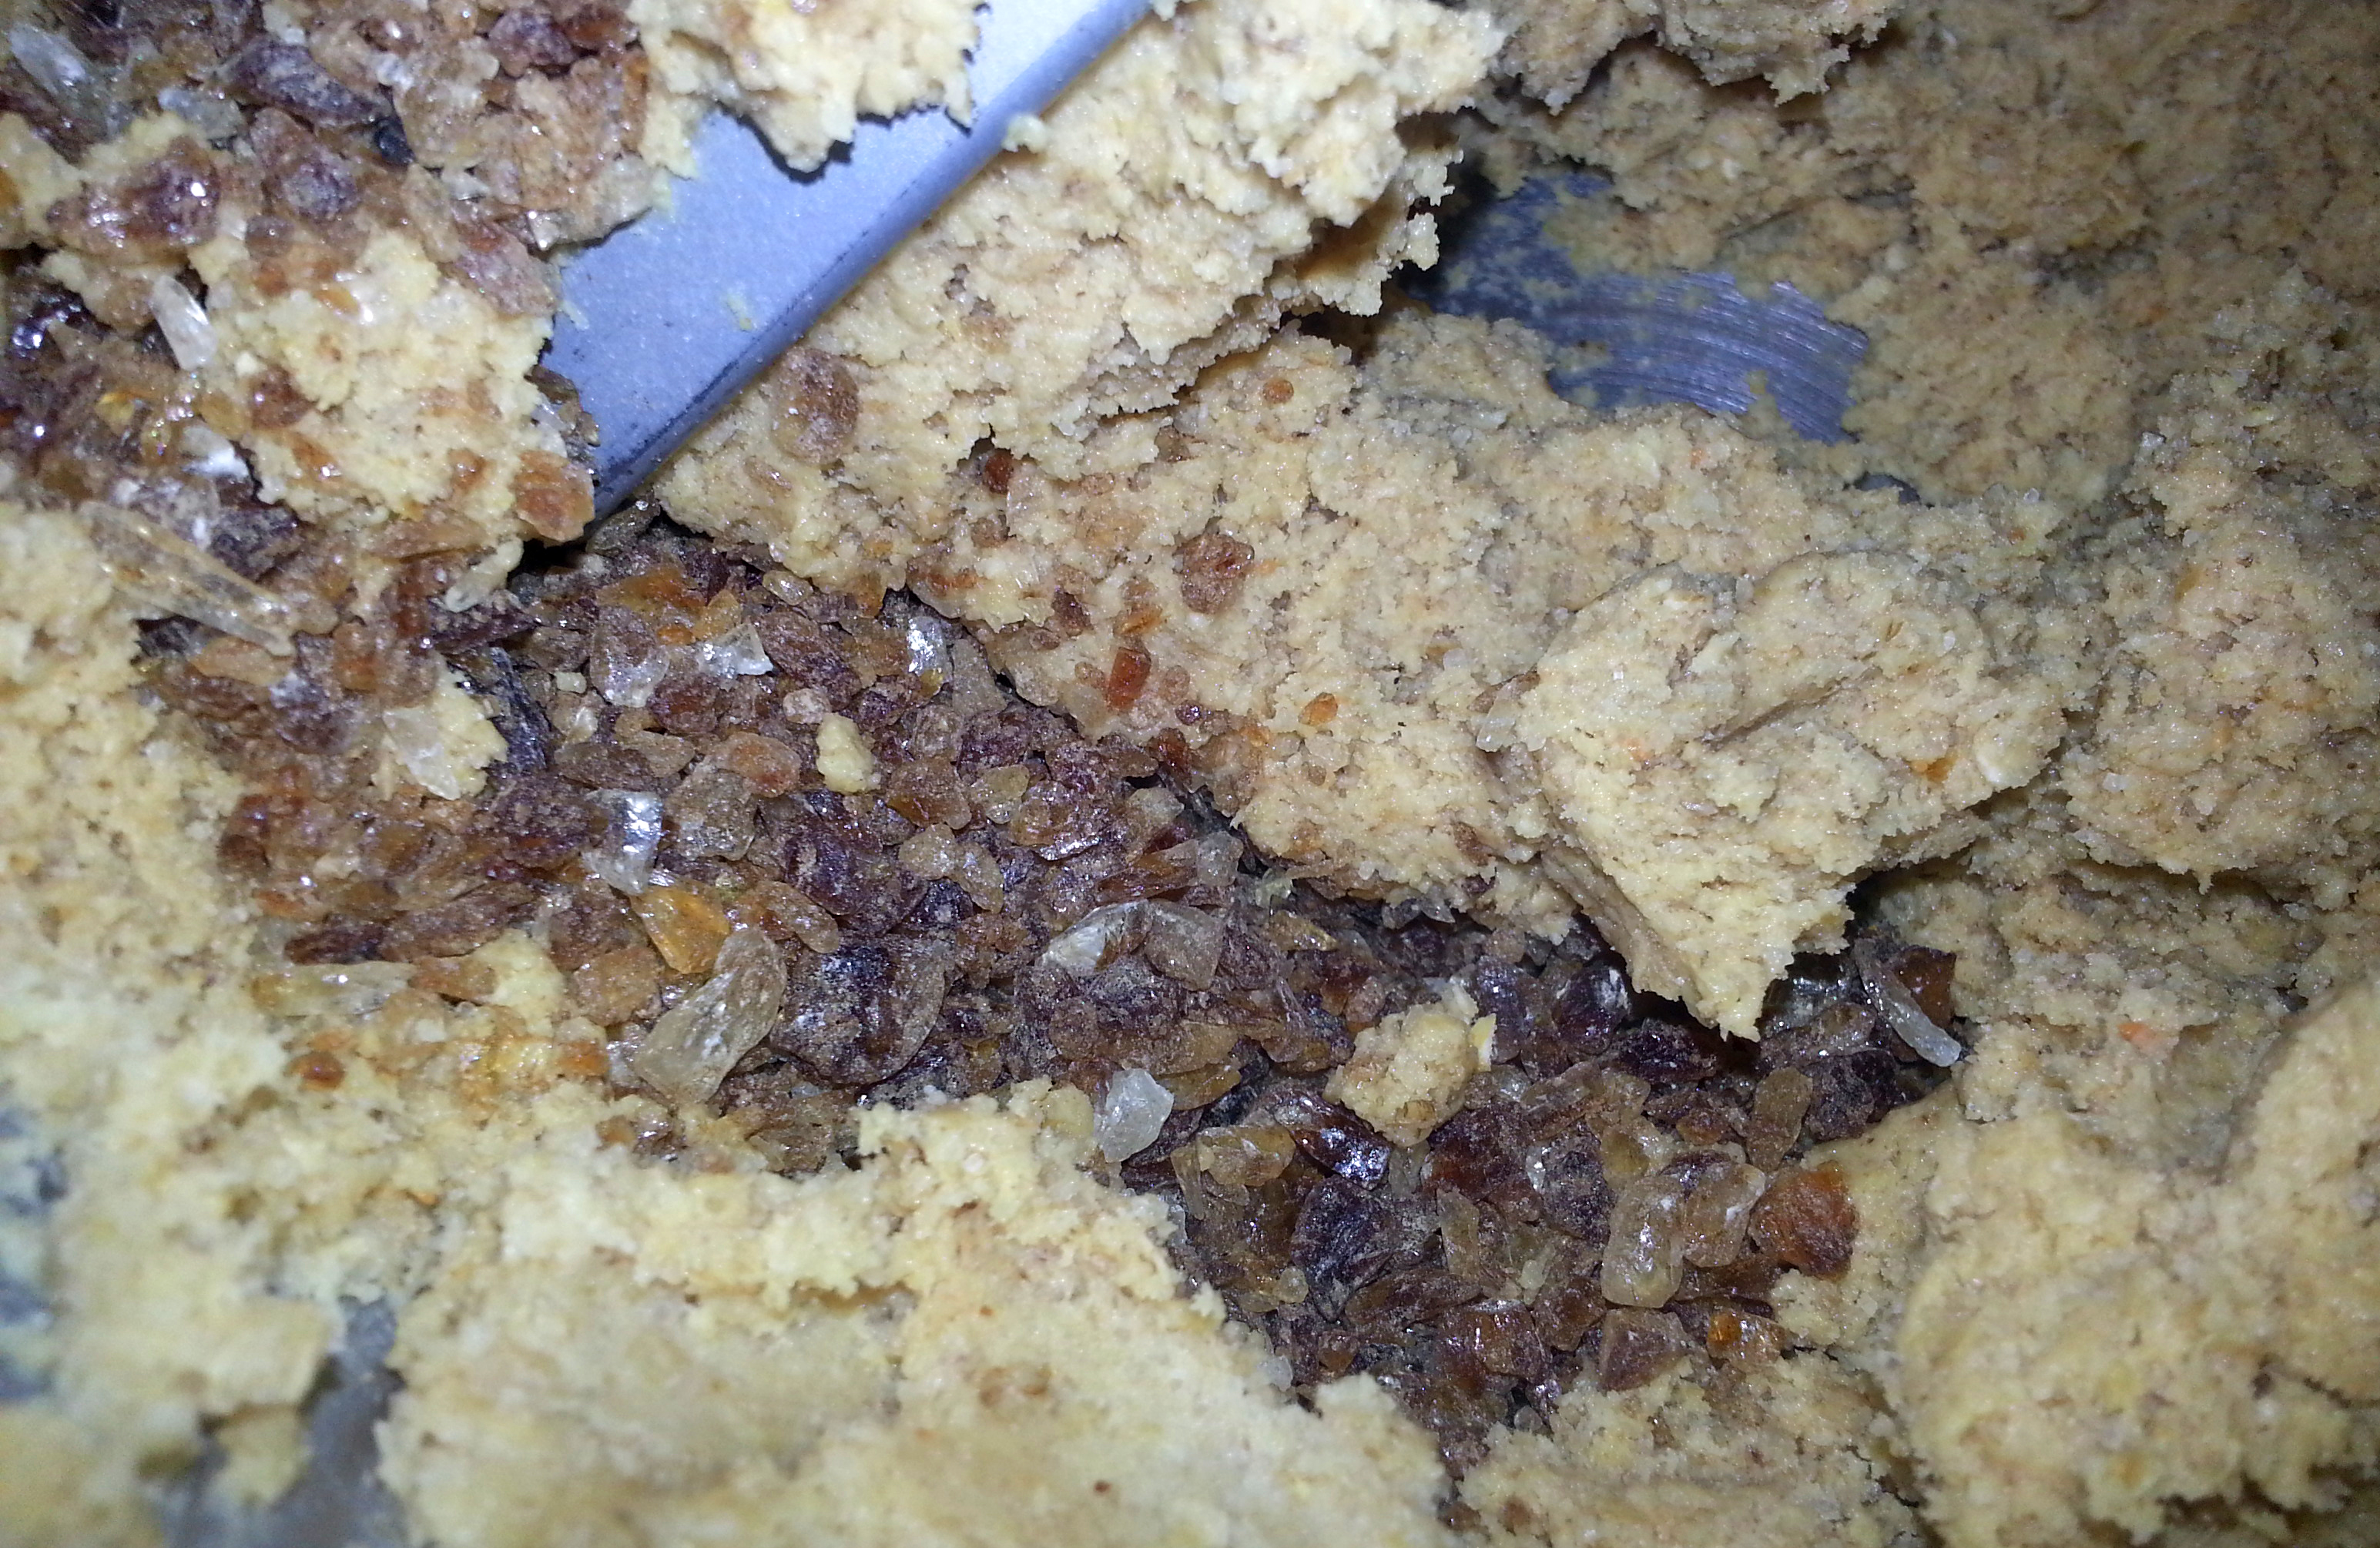
  6. Throw the nuts on the shortbread, pour the caramel over, and let it all cool for at least two hours, or until it has set. Cutting the bars may be tricky, but can be made easier by keeping the pan in the refridgerator.

Caramelcashewbars5

Crispy, crunchy oatmeal cookies

Oatmeal cookies may be just as famous as the legendary chocolate chip, but they’re not in the Netherlands. We use oatmeal to make porridge, and that’s about it. That is why I wanted to try a little baking with oatmeal myself, and naturally I started with cookies. Like I wrote in one of my previous posts, I am almost religiously in favor of crunchy cookies: This led me to this recipe on SmittenKitchen, a deliciously inspiring baking blog. I made some minor changes, converted the volume amounts to SI units and tried & tested a few variations. I hope you like them, and that you will share your own variations in the comments below!

Oatmeal-cookies-9

Oatmeal-cookies-1Ingredients:

–          1 cup / 128 g all-purpose flour

–          1 teaspoon baking powder

–          1/4 teaspoon salt

–          1 3/4 sticks / 200 g butter (slightly softened)

–          1 cup / 200 g sugar

–          1/4 cup packed / 50 g light brown sugar

–          1 large egg

–          1 teaspoon vanilla extract

–          2 1/2 cups / 225 g old-fashioned rolled oats


–          6 ounces / 170 g white chocolate, chopped

–          + 1/2 cup / 70 g hazelnuts

Oatmeal-cookies-7

You can play around with the addition of chocolate and nuts. I have tried these two varieties and my friends and family loved them.


Variety 1:

1/2 cup / 75 g white chocolate

+ 1/2  cup / 70 g toasted hazelnuts

+ 70 g ‘kandijsuiker’ : These are very crunchy sugar crystals, I’m not sure about a non-Dutch equivalent… Basically, you could use anything sweet and crunchy


Variety 2:

1/2 cup / 70 g toasted almonds

+ 1/4 cup / 70 g peanut butter

+ 50 g ‘kandijsuiker’


These amounts will yield about 24 portions (2 tablespoons of dough each). Bake them at 350 degrees Fahrenheit or 175 Celcius for 13-16 minutes.

Oatmeal-cookies-2

Oatmeal-cookies-3

Oatmeal-cookies-4


Oatmeal-cookies-5


Oatmeal-cookies-6

Oatmeal-cookies-8

Fudgy chocolate layer cake: Our wedding cake!

In January, my all-time love and I finally got married. After being over ten years together, we knew what kind of cake we wanted even before we started planning the wedding: Chocolate + chocolate and nothing frivolous, airy, fruity or flower-y. As much as I would have loved baking such a cake myself, I decided this wouldn’t be a project I’d want to take on the days before my own wedding (thank you, past-me). Some of my best-baking friends and family got the scare of the year when I asked them if they’d want to bake one of our wedding cakes. It took a lot of convincing and a very detailed, tried & tested recipe, but in the end they could not have done a better job (we’re forever thankful). So now, I would like to share this recipe, which has a special place in my heart, with all of you, the readers of my blog. I hope it may bring you as much joy as it did us!

Fudgy chocolate layer cake: Our wedding cake 2

This epic chocolate cake consists of three kind of muffin-like, fudgy cake layers, with a chocolate fudge cream in between (‘ganache’).


Ingredients for the cake:

–          300 ml water

–          90 g Dutch cocoa powder

–          250 g flour

–          476 g sugar

–          1 tsp salt

–          2 sachets of baking powder (=2 x 16 g)

–          3 sachets of vanilla-flavored sugar (=24 g)

–          350 ml buttermilk

–          130 g vegetable oil (peanut of sunflower)

–          3 free-range eggs


Ingredients for the ganache:

–          250 g (extra) dark chocolate

–          75 g butter

–          250 ml cream


Method:

One day/a couple of hours ahead: Cook 300 ml of water, dissolve the cocoa in the boiling water and leave to cool.

Mix together the flour, sugar, salt, baking powder and vanilla-flavored sugar (if you don’t have vanilla-flavored sugar, just use 500 g sugar instead of 476 and add some fresh vanilla of vanilla flavoring). Next, add the buttermilk, oil and eggs and stir until you get a smooth batter. Then, add the water-cocoa solution, and let the batter rest for about 1 hour. Preheat the oven to 170 degrees Celsius.

I highly recommend you either use three baking pans or take turns in the oven to get three cake layers, because this cake is next to impossible to cut into three layers. Grease the baking pan (24 cm diameter), put some baking paper on the bottom and poor in 1/3 of the batter (which will approximately weigh 595 g). Bake the cakes for about 50 minutes and leave to cool on a wire rack.

To make the ganache, slowly melt the chocolate and butter. Let this cool for a little while, and then stir in the cream. You can now let this mixture cool until it has the consistency you like to work with. Smear the ganache on two of the cake circles, stack them up, add the third cake circle, and smear the rest of the ganache all over the resulting layered cake.

To enable easy cutting of the cake, it’s best when it is a bit cooled, but not too cold, because the ganache because difficult to work with – and it doesn’t taste nearly as good as it does at room temperature.

Fudgy chocolate layer cake: Our wedding cake 1

Pumpkin bread with cheesecake swirl

If you ever feel like having cheesecake, but you don’t have enough cream cheese in stock, or you just have a package of mascarpone about to hit the expiration date, this recipe will suit your needs. It combines the best of cakes and cheesecakes, and looks great when cutting through the marbled layers. I got the recipe from Peabody’s blog Culinary Concoctions (thank you), and made some alterations plus converted the ingredients to SI measures. I experimented a bit, and concluded that if you don’t have a pumpkin or can of pumpkin puree lying around, a great alternative is to grate a large carrot and mash a ripe banana. The taste, color and mushy texture of the resulting cake are fairly similar.

Pumpkin bread with cheesecake swirl by Thee met Aimee [recipe at www.theemetaimee.nl]

For the cake

– 240 g unsweetened pumpkin puree (or 1 cup) OR 1 large carrot + 1 banana
– 120 ml vegetable oil (or 0.5 cup)
– 2 eggs
– 300 g sugar (or 1.5 cup)
– 256 g plain flour (or 2 cups)
– 1 tsp baking powder
– 0.5 tsp salt
– 1 tsp cinnamon – 0.5 tsp ginger – 0.5 tsp nutmeg (or 2 tsp ready-made pumpkin pie spice, or Dutch speculaas spices)
– 120 g of your favorite nuts (or 1 cup)

For the cheesecake swirl

– 252 g mascarpone (or 9 oz)
– 75 g muscovado sugar (or 0.4 cup)
– 6 tbsp maple syrup
– 1 tbsp flour
– 1 egg

Pumpkin bread with cheesecake swirl by Thee met Aimee [recipe at www.theemetaimee.nl]Method:

For the cake batter, mix together the pumpkin puree, oil and eggs, and in a separate bowl the flour, baking powder and sugar. Then gently mix these two together and fold in the nuts. For the cheesecake swirl, mix together the mascarpone, sugar, syrup, flour and egg. Now poor about 2/3 of the cake batter in a butter or oil-greased pan, poor on the cheesecake mixture, and finish with the remaining cake batter. You could go through the concoction with a skewer to create a more marbled cake. Bat it at 160 degrees Celcius (or 325 Fahrenheit) for about 60 minutes. To bake the cake in my pictures, I used a round cake pan, just because I wasn’t in a loaf-pan-kind of mood, but you could of course pick whichever way you fancy.

Showoff post: Millionaires’ shortbread

When I visited the U.K. last year, my colleagues at the University of Bristol had just planned a bake sale. Everyone would bake something at home, and everyone was buying stuff off each other (for themselves, or kids, neighbors, grandparents etc) with all the proceedings going to a good cause that the organizing team picked (the organization alternated). I loved it so much, I am still determined to introduce bake sales in the work place back here in the Netherlands. One of the guys had made millionaires’ shortbread, which is basically the same as chocolate caramel shortbread, but that doesn’t sound nearly as magnificent. He used a recipe from Waitrose, which is an upmarket chain of British supermarkets.

If you’re not baking for any sale, make sure you could stand to gain a few pounds, because millionaires’ shortbread will make you want to eat the whole batch and gain a million.


Oreo cheesecake

Last year I took my first trip to the US, to California to be precise. There was one thing on top of my tourist-wish list: Visiting the Cheesecake Factory. The menu totally threw me off! Back here in the Netherlands, generally, we’re only familiar with the basic New York cheesecake, so I had a very very hard time choosing which cheesecake to try. Needless to say, I went for the Oreo cheesecake, and until this day I cannot get the mind-blowing taste out of my head. It honestly was one of the best pieces of cake I have ever tasted.

It took me a few tries, but I think this recipe approaches the sublime original, without being too hard to make yourself.


Ingredients:

–   2 packs of Oreos (2x 176 grams, or 32 cookies)

–   70 g butter, melted

–   250 g mascarpone

–   200 g crème fraîche

–   200 g cream cheese

–   200 g powdered sugar

–   4 eggs, yolks and whites separated

–   2 tbsp corn starch [or ‘maizena’ in Dutch]

–   two vanilla pods (or 2 tsp of essence)


Method:

Crush half of the Oreos, including the cream in the middle, (1 pack = 4×4 cookies = 176 grams) and mix the crumbs with 70 grams of melted unsalted butter. Press them in a springform pan lined with baking paper, and let the crust harden in the fridge while you start making your filling. You could of course use more cookies, for a thicker deliciously dark crust.

This cheesecake filling can be used to make one regular-sized cake (22-24 cm diameter) or you could make party bites: this filling is enough for 45 small ones (in a muffin/cupcake tin).

Mix the egg whites until stiff. In a separate bowl, mix together the cheeses, sugar, egg yolks, corn starch and vanilla. Make sure the mixture turns out smooth. Then gently fold in the stiff egg whites, and transfer it into the crust. Next, you can break some Oreos into large chunks and spread these over the cheesecake mixture – don’t worry, they’re meant to kind of sink in. Now bake the cheesecake for 1.5 hours at 150°C (or 25 minutes at 160°C if you’re making small ones). After baking, the cake may not look too firm, but know that it will set when cooled. Leave the cheesecake in the oven after baking for about two hours so it cools slowly. Then move it to the fridge for at least another two hours. Finish the cake of with some powdered sugar and Oreos on top.

Limoncello semifreddo [lemon ice cream cake]

Making your own ice cream can be tricky, and often requires very specific equipment. That is why I’m such a big fan of semifreddo: “Semifreddo (pronounced [semiˈfredːo]Italianhalf cold) is a class of semi-frozen desserts, typically ice-cream cakes, semi-frozencustards, and certain fruit tarts. It has the texture of frozen mousse because it is usually produced by uniting two equal parts of ice cream and whipped cream” (Wikipedia).

I was looking for inspiration for a dessert incorporating limoncello when I came across my peer Caroline’s Blog. She had posted a recipe for limoncello semifreddo, which to me sounded like a win-win. In fact, the dessert turned out to be just that — even though in the end I made it without the lemon sauce/syrup.

The preparation is pretty straight forward: the semifreddo consists of a cream cheese & lemon curd mixture, layered in a cake tin between lemoncello+lemon juice+sugar-soaked lady fingers. For those of you that don’t master the Dutch language, I translated the ingredients:

– zest and juice of 1 lemon
– 2 tbsp fine sugar
– 80 ml limoncello
– 325 g lemon curd (I happened to have 1 jar of home-made lying around, which was just the right amount)
– 250 g cream cheese
– 250 g mascarpone (italian cream cheese)
– approximately 24-30 lady fingers

For the sauce/syrup
– 100 g fine sugar
– 1 lemon, the zest in long thin pieces
– juice of 1 lemon

One week later, I started experimenting, and mixed molten chocolate and sugar with the cream (in stead of lemon curd), and soaked the lady fingers in rum (in stead of limoncello). That is all it took to create another beautiful dessert, and as I’m writing this I start getting even more variation-ideas…

Cappuccino cupcakes

Two great friends of mine had recently given me a very decent coffee maker — for free! There was really only one way to say ‘thank you’, which was to have them over for coffee with a treat. For the occassion, I whipped up these cappuccino cupcakes within the hour. I believe these portrayed my gratitude appropriately!

Ingredients:

200 g flour

7 g baking powder (approximately 1 tablespoon, or you could use self-raising flour)

220 g sugar

a pinch of salt

1 egg

180 ml milk

60 ml vegetable oil (I prefer peanut or sunflower)

vanilla extract, or the contents of  1 ‘fresh’ vanilla bean

some tablespoons of extra extra extra strong coffee, to taste

mascarpone, or another type of delicious heavy cream, about 125 g

powdered sugar, amount to taste

  1.  Mix together the dry ingredients (flour, baking powder, salt).
  2. In another bowl, mix together the wet ingredients (egg, milk, oil, coffee) and vanilla.
  3. Mix the dry and wet ingredients together, pour the mixture in baking cups lined up in a cupcake baking tray and bake for about 25 minutes at 180 degrees celsius.
  4. Mix powdered sugar into the cream until you think the taste is just sweet enough.
  5. When the cupcakes are cooled (preferably on a wire rack), just smear the cream on top, and finish with a some chocolate sprinkles or cocoa powder.

German apple pastry: Apfelschnitten

Although the American kitchen is well known for its home baking, the baking tradition is said to have originated from the German/Austrian immigrants. Classics like Scharzwalder Kirschtorte (chocolate and cherry liquor cake), Sachertorte (chocolate cake with apricot jam) and of course apple pastries like Apfelschnitten/Apfelkuchen are famous around the globe. And what about ‘the original’ New York cheesecake? Not to offend anyone, but the Germans already had their Kasekuchen.

As a baking fanatic and foody, of course I feel drawn to trying all these classics, and today I’ll share a great recipe for Apfelschnitten. They’re not difficult to make, and really practical at a party: everyone can just grab a piece and eat it without a plate and fork.

I used a 38,5 by 26 cm square oven pan (1001 cm squared, which resulted in about 18 servings), but you could of course adjust the ingredients to fit your baking pan.

Ingredients:

For the crust

74 g raisins, soaked in 74 ml rum

370 g flour

225 g sugar

2 eggs

165 g butter

pinch of salt

zest of 1/2 lemon

74 g raspberry jam

For the pound cake layer

53 g butter

90 g butter

1 egg

zest of 1/2 lemon

144 g flour

5 g baking powder

30 g almond powder

1/2 tsp cinnamon

111 ml milk

For the topping

5 medium-sized, sweet apples

74 g apricot jam

2 tbsp water

  1. For the crust: mix together the flour, sugar, eggs, butter, salt and zest, and knead into a ball. Roll it out on a flour dusted worktop, and cover the (baking paper-covered) bottom of the pan. Poke some holes with a fork, and apply a layer of rasperry jam. Let the crust sit in the fridge for at least 30 minutes.
  2. For the pound cake layer: mix together the butter, sugar, egg and zest. In a separate bowl, mix together the flour, baking powder, almond powder and cinnamon, and add to the butter mixture. Mix in the milk, and spread the cake mixture over the chilled crust.
  3. Sprinkle the raisins onto the cake layer.
  4. Cut the apples into wedges, and lay them onto the cake layer party covering each other, like roof tiles.
  5. Bake the Apfelschnitten (which literary translates as ‘apple wedges’) for about 40 minutes at 200 degrees Celsius.
  6. For a nice, shiny finish, heat the apricot jam with some water and cover the top of the Apfelschnitten.


Peanut butter cookies with chocolate chips

Here in The Netherlands, there’s not an awful lot of variation going when it comes to peanut butter. We have your regular peanut butter sandwich, and we use peanut butter to make an Indonesian peanut (sateh) sauce. That’s about it.

Just thinking about combining peanut butter with sweets like, say, chocolate, makes many shiver — even though they are familiar with Snickers candy bars. But I’m always willing to try new stuff, so when Pinterest inspired me to bake these cookies, I was pretty happy with the result. As you can see in the second picture (in the back), the first batch was thicker than the second, which resulted in a American-style chewy cookie. The second, thinner batch packed more crunch, which I personally prefer.

Ingredients:

133 g flour

1 tsp baking powder

pinch of salt

96 g butter

210 g peanut butter

144 g granulated sugar

85 g light brown sugar

1 egg

1 tsp milk

vanilla extract/a vanilla pod

75 g chocolate chips (optional)


Bake these babies at 175 degrees Celsius for 10-12 minutes. I baked them in a cupcake/muffin pan so they would get that perfect round shape.